Heat-free Hairstyling: 5 easy styles that require no heat to achieve

Heat-Free Styling: 5 easy heat-free hairstyles

written by: Emily Hart @hartofcolor

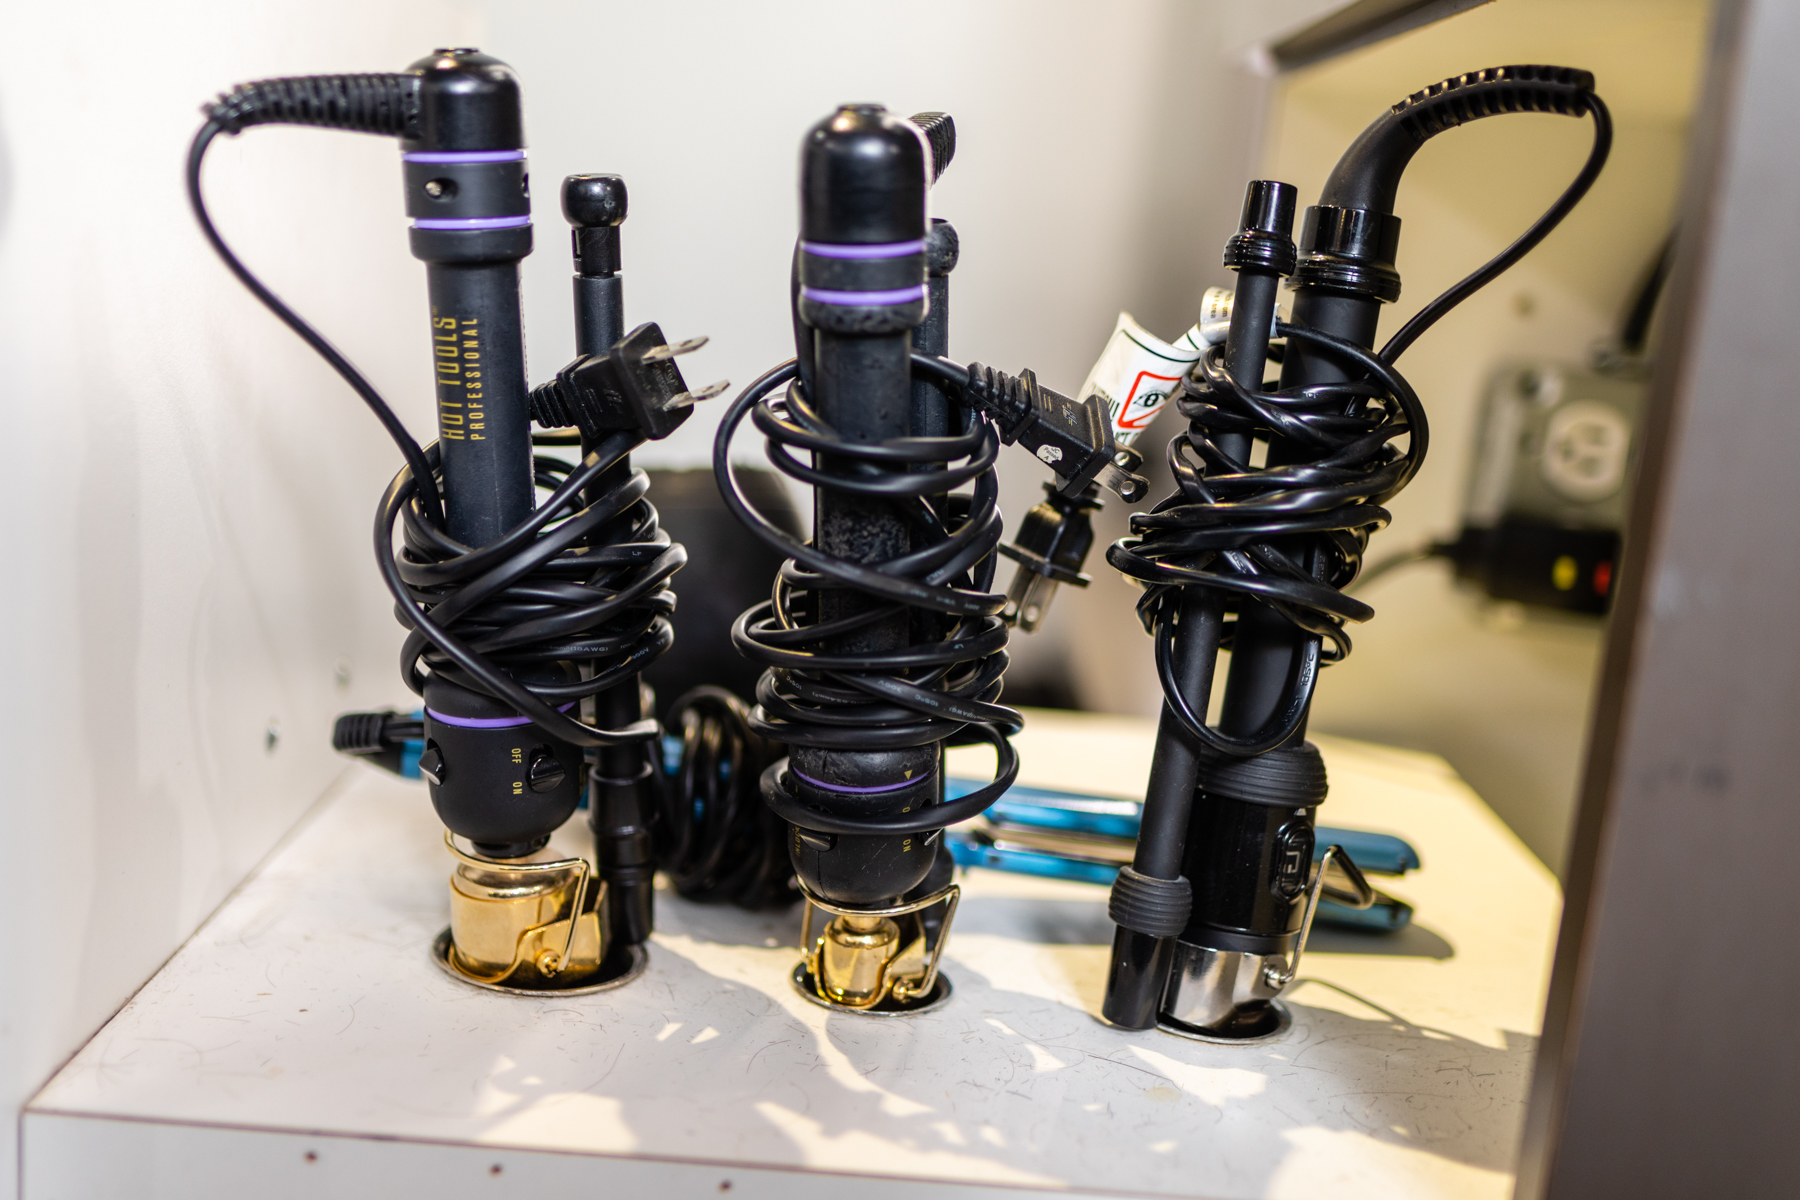
We’ve come to that time of the year when it’s just too damn hot to do things. Cooking, exercising, moving — not going to happen. But, perhaps the biggest no-no of all is heat-styling. When it’s 90F-plus out, and the humidity levels are through the roof, the last thing any of us wants to do is blast our already overheated heads with hot air from our blow dryers. Same goes for our curling and straightening irons.

Just because the thought of styling tools makes you want to stand in front of the AC and never leave, that doesn’t mean you are doomed to a summer of lackluster hair. On the contrary — there are so many great products and techniques that make air-dried hair look just as good, if not better than, heat-styled hair.

If you want a break from blow-dryers, straighteners, and curling wands, try wet-styling your hair instead — as in styling your hair while it’s towel-dried (or spraying it so it’s damp), setting it, and unraveling it later for a gorgeous, dry ‘do.

For the below looks, start out with damp hair. However, if you want any of these styles to have a looser wave, wait until your hair is 80 percent dry, or dampen your dry hair with a spray bottle, before getting started. The wetter your hair is when you start, the longer each look will take to set, and the stronger your hair will hold the style.


  1. Loose Braid Waves

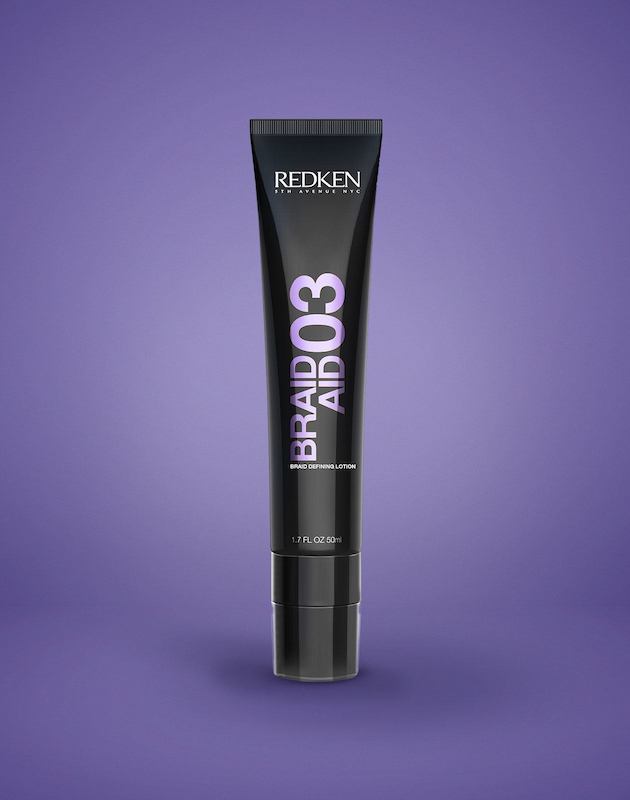
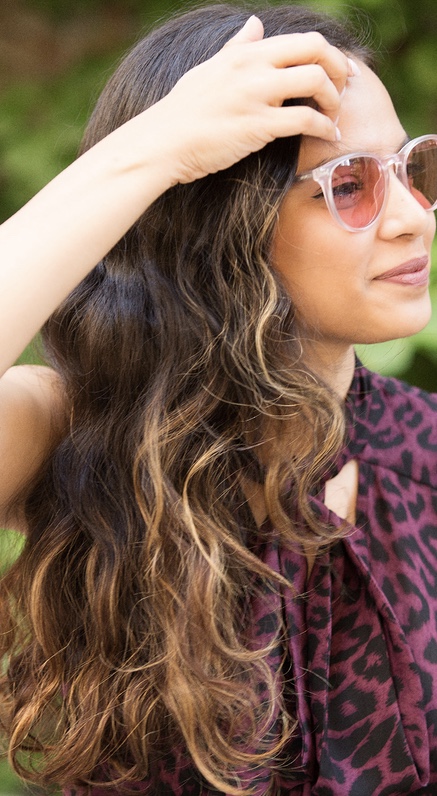
Start with damp hair and apply Redken Braid Aid 03.  This will help to define the curls in the final look


Loosely braid your hair in four equal sections. Don’t worry if the braids aren’t perfect. The lumpier and messier they are, the more organic your waves will look.


Unravel the braids. If the ends have creases, spray a little water on them to loosen them up.

  1. Pineappling

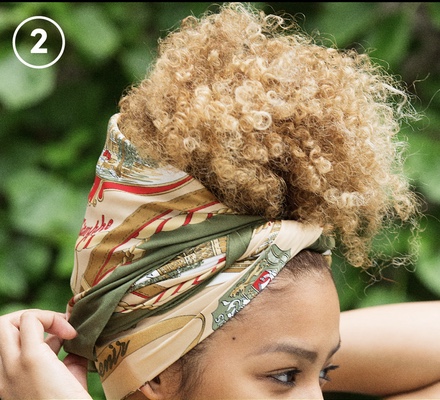
Gather dampened, curly hair into a high ponytail. Use a scrunchie to loosely hold it in place on top of your head. Only pull your hair through the scrunchie once or twice to prevent creasing.

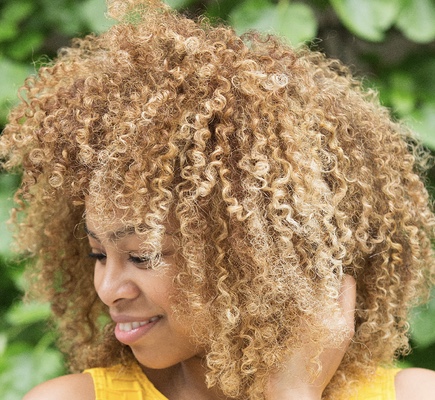
Wrap your hair in a silk scarf while you sleep. Silk keeps in moisture and prevents your hair from becoming dry and frizzy. That way, when you take down your hair in the morning, you’ll be left with defined, voluminous curls.

Finish with Redken Frizz Dismiss Anti-Static Oil Mist.  This product is great for taming fly-aways, adding shine, and repelling unwanted static and humidity.


  1. Headband Curls

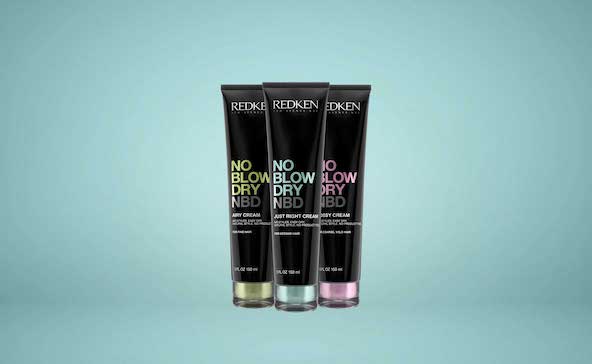
Prep your hair with Redken No Blowdry Styling Cream.  There are 3 different strengths of this product (airy, just right, and bossy) so pick whichever one suits your hair type the best.


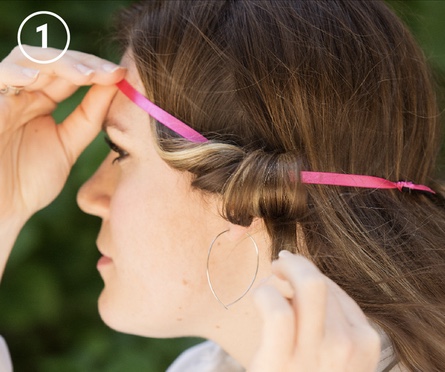
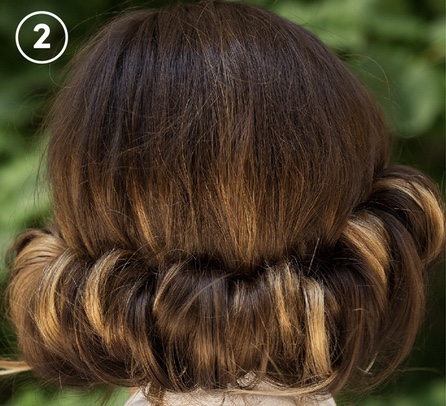
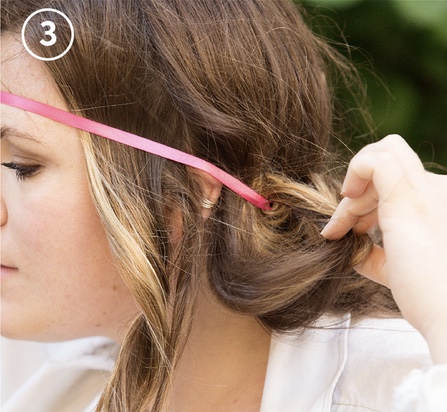
Slip a circular headband around your head and wrap small sections of hair around it. If your hair is already dry, lightly dampen it with a spray bottle and place an elastic headband securely around your head;otherwise, start with it 80 percent dry. Next, loosely tuck 1- to 2-inch sections of hair over and around the top of the elastic (this will cause the curls to flow away from your face rather than toward it); do this until you reach the middle back of your head. Repeat on the other side. If you want your curls to be smaller, wrap the hair around the band tighter; for larger curls, wrap it looser.


Repeat step one until all your hair is wrapped around the headband


Unwrap your hair from the headband and slip it off to reveal your cool-girl curls. Use your fingers to separate the curls and fluff your hair.


  1. Low Bun Waves

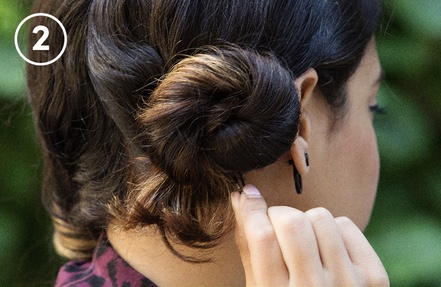
Split your hair in two sections and twist. This style is great if you prefer your hair to be smoother at the roots and wavier at the ends.  Comb one section into a tight, low side ponytail and then twist the tail down to your ends.

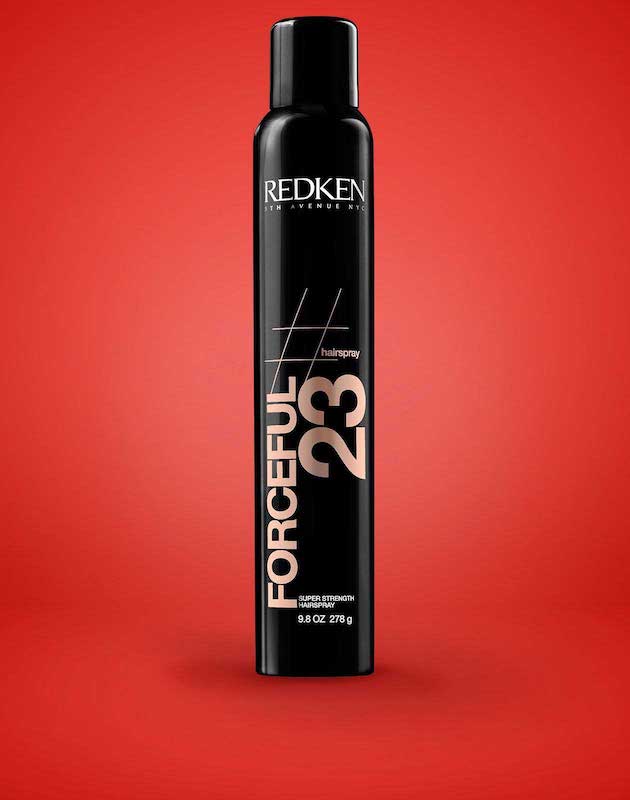
Spray the twist with a good strong hairspray.  We suggest Redken Forceful for maximum hold without the crunch.

Spin the twist into a low bun. Secure with one elastic or a bobby pin. Repeat these steps on the other side, so you have two buns. Once the hair is dry, unravel the buns and use your fingers to separate the waves.

Finish with some more Forceful Hairspray.  This has humidity resistance and will hold and define your curls without drying them out.

  1. Sleep-in Beachy Waves

Apply the Redken No Blow Dry styling cream of your choice to damp hair.  Allow your hair to dry at least 80% in the open air

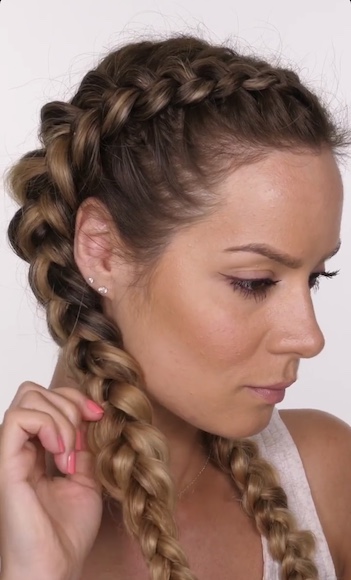
Split your hair into 2 sections from your natural part, all the way back to the nape of your neck.  Create 2 french braids, one on each side of your head, making sure to keep the sections loose.  If the braid is too tight you with have uneven curls and crimps instead of beachy waves.

Go to sleep. Try wrapping a silk scarf around your head and the braids while you sleep to prevent the braids from getting fuzzy.


Pull out your braids in the morning and use your fingers to separate the waves. Finish with Redken Triple Dry Texture Spray for organic, beachy waves.

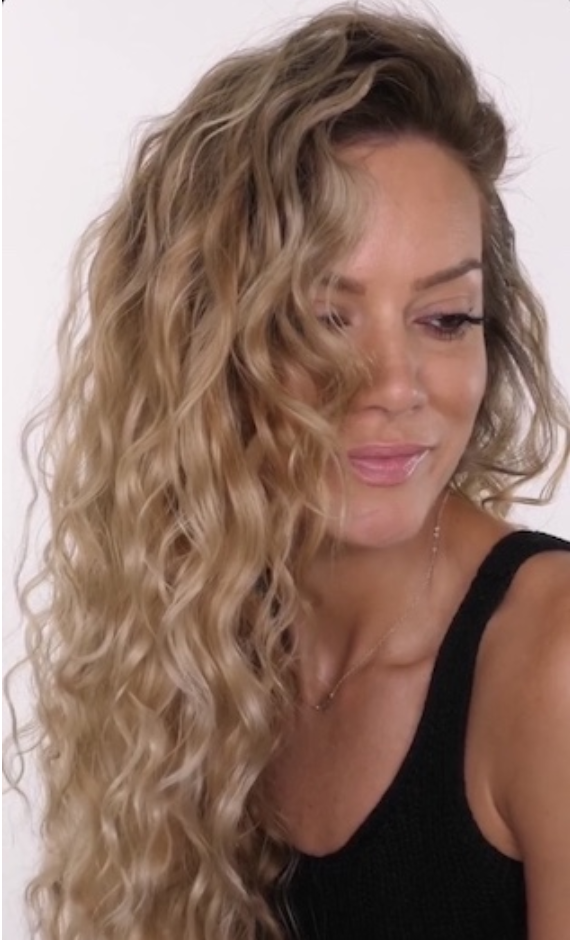


Turn Down That Iron: 10 signs that your hair is damaged by using too much heat

Turn Down That Iron!

10 signs that your hair is damaged by using too much heat.

Arguably the hottest topic (pardon the pun) throughout the hair care world in the past few years has been heat protection. Irons and blow dryers can produce many short-term hair benefits. Freshly heated hair feels soft and smooth; possesses a high level of shine; frizz is minimized and the newly styled hair moves in an attractive, flowing motion. Only later, when these benefits wear off, do the cumulative effects of this rather harsh process materialize—as the hair can become rough, fragile and unruly.

For many, the benefits overwhel­mingly outweigh the negatives.  Direct heat is an essential hair styling tool that many people use daily for styling their hair. Curling, straightening, drying, and dyeing all involve some type of heating. We often don’t realize that by trying to maintain and style our hair we are causing more damage.

Often, the heat we use regularly is our hair’s worst enemy. The damage it causes after just one use can take months to repair. The more heat you use to style your locks, the more damage accumulated.  It’s a vicious cycle.

Symptoms of Hair Damage

Here are 10 obvious and not-so-obvious symptoms that your hair has been damaged by the heat you use.

1. Excessive Hair Shedding

It’s important to remember that hair shedding is a natural process. An average person loses about 50 – 100 hairs per day. However, if you feel as if you are shedding more than usual, you might be suffering from heat-induced hair problems.

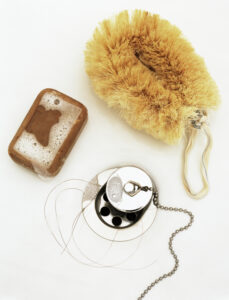
The easiest way to check if you are shedding more hair than before is to look at the hairs left in the drain after taking a shower. The clump of hair shouldn’t be more than an inch in diameter.

2. Split Ends

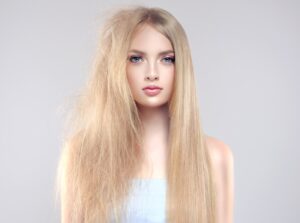
Everyone gets split ends. It’s a natural process of hair growth. On average, your hair will start to split 6-8 weeks after you get it cut.  The splits should only be noticeable on the last inch of your hair.  If your ends split sooner than 6 weeks, never go away completely after your cut, or if you notice splits appearing higher up on the hair shaft, you may have heat damage.

3. No More Curls

If you have curly hair and use heat on a regular basis, you can face an unfortunate reverse effect. The curls become lazy and might disappear altogether. However, this is not the, “grass is always greener” scenario you may have dreamed of as a kid. You can be left with dull, lifeless semi-straight pieces of hair that will no longer hold a curl.

4. Porous Hair

Porosity refers to how well your hair can absorb and hold moisture. It is affected by the flexible outer hair layer called the cuticle, which determines how easily moisture and oils pass in and out of your hair.  When the hair is overly porous, it doesn’t easily absorb the products and color we use.  This causes the color to fade faster, requiring more frequently touch-ups, and makes the hair appear dry, brittle and damaged.

5. No Shine or Luster

Heat is the natural enemy of shine. That’s because high temperatures damage the natural lipids (fancy word for oils) that help keep hair flexible and shiny

Think about just how much heat many of us expose our hair to regularly. Blow dryers, flat irons, and even hot oil treatments are just a few ways we keep the heat on. These things work well for maintaining and styling hair, but they aren’t so great for keeping it healthy and shiny.  You don’t have to stop using blow dryers and irons completely, but it’s smart to cut back for a while to give your hair time to heal. Air-drying takes longer, though it’s completely safe and the longer your hair is wet the more the hair shafts can absorb moisture and reach the cortex of your strands allowing your hair’s natural luster and shine to come through.

6. Feeling of Dryness

The feeling of dryness is one of the most obvious symptoms of heat damaged hair. Besides looking dry and dull, the hair feels dry. No matter how many conditioners and leave-in products you use to give the hair some moisture, it stays dry. Thermally damaged hair does not fully regain the moisture that it loses during heat styling.  It also does not retain moisture well because of the changes in protein structure and loss of lipids.  What that means is that hair ends up feeling drier/coarser over time.  The most damaged areas can even feel like straw over time.

7. No More Elasticity

Healthy hair is elastic. Hair’s elasticity is the measure of how much it will stretch.  Hair with proper elasticity is strong with a healthy cortex, allowing it to stretch without breaking and easily spring back to its original shape. Healthy hair, when wet, will stretch up to 50% of its original length and return to its normal shape without breaking, while dry hair will only stretch about 20%. Excessive heat can cause your hair to lose elasticity. By using irons and dryers that are too hot, you are forcing your hair cuticle to swell and remain open, which allows moisture, nutrients and even your color to flow out of your hair strand.  These elements are essential to healthy hair elasticity.  If you try pulling on one hair strand and it breaks immediately, it suffers from poor elasticity.

8. Too Tangled

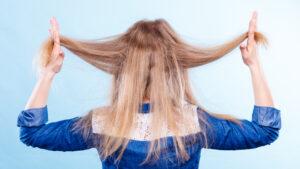
If you are having trouble keeping your hair neat even though you are brushing it on a regular basis, it can be the sign of overheating. Healthy and elastic hair doesn’t get tangled up without a reason (like strong wind or restless sleep). If knots and tangles are regularly giving you trouble, your hair may be damaged.

9. Hard to Manage

If the 5 minutes you used to spend on styling your hair in the morning are turning into a tedious half an hour, your locks are most likely damaged by the heat you use regularly. Damaged hair is hard to style. It takes longer to dry, and can quickly become frizzy and messy even after styling is completed. If you are ending up wearing a ponytail just because holding the hair in place is impossible, consider new styling methods that don’t include heat to give your hair the break it needs to restore moisture, shine and manageability.

10. The Wrong Hair Color

Color change in the hair can be a sign of heat damage in two ways.  First, hair that is damaged and porous can absorb too much color too quickly, like a dry sponge. If your hair color begins appearing darker over time and your stylist hasn’t changed your color formula, your hair could be heat damaged. Secondly, hair that is freshly colored is also vulnerable to excessive heat. It can take up to 2 weeks after a color service for your hair cuticle to close completely. During this time, if you are using tools that are too hot you are forcing your cuticle to swell and remain open.  You can notice your hair become lighter almost instantly.

What can be done?

These heat damaged hair symptoms come one by one or all at once. If you realize that you have head-damaged locks, stop using all your heat producing styling tools, use a hair mask or treatment regularly to help restore your hair’s moisture balance and start looking for no-heat styling alternatives.
The most effective way to combat heat damage is to turn down those irons and dryers.  Most people turn their flat irons and blow dryers up to the highest temperature, thinking the higher the heat, the better it works. Today’s irons and tools can reach more than 450 degrees Fahrenheit. Considering that water boils at 212-degrees, you definitely don’t need to be using tools set more than double the boiling point of water. We recommend keeping the temperature set below 300-degrees. If you have coarse, curly or unruly hair then you might need a little more heat but avoid going over 330-degrees. The most important step is to ALWAYS use a heat-protector whenever styling with heat.  This acts as a barrier between your hair and the direct heat source and can significantly improve the overall health of your hair.
Another method to combat heat damage is to try and keep the water you bath with at a lower temperature. Hotter water temperatures cause the hair to swell and loose moisture and color.   Try finishing with a cool water rinse.  This can bring down the swelling and keep the moisture in.  If your hair is already highly porous, you might want to remain on the cooler end of the thermometer while showering.  The water doesn’t have to be cold, but avoid hot.

We hope these signs and symptoms make it easier to diagnose what’s causing your hair problems.  Most of the time, it is possible to avoid using heat for styling so be sure to check back next week for some simple tips and ideas for heat-free styling.

Written by: Emily Hart

How Water Affects Your Hair

For most of us, we always want to make sure our hair looks the best, whether its in style or just overall health. Healthy hair is essentially seen as a reflection of a healthy body.  So like the rest of our body, hair health depends a lot on what you put into your body, and water is an essential part of hair health and growth.

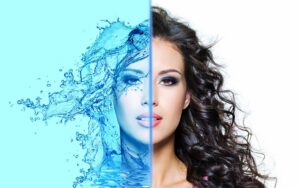
There are many ways that water affects hair, from both ingesting it and external application.

Drinking Water and Hair

We know that water is important for the body, but how does it affect your hair?

Your hair is made of up cells, like the rest of your body, and water is essential to cell growth and health.  It is the carrier for nutrients to the cells and for waste removal.  When your body is dehydrated, it functions less efficiently, and can hinder hair growth and health.

Think of your hair like your skin. When you’re dry and dehydrated, your skin can become dry, cracked and can generally look unhealthy. The same goes for your hair. Even though the cells that make up your hair are no longer living, your hair follicles are alive and creating cells that need hydration thrive.

Water and Hair Loss

While there is no magic solution to hair loss, there are studies that suggest thinning hair can be helped by drinking more water along with a better diet and exercise. Hair loss, as well as fatigue and dry skin, are signs that your body isn’t receiving enough daily nutrients and can be chronically dehydrated.  If  you’re concerned about thinning hair, drinking more water, is the quickest and most cost effective solution.

Washing Your Hair

We talk most often about drinking water and how it relates to your internal health, but hair health is also affected by external factors, like whether you wash or rinse your hair in hot or cold water. Essentially, hot water is great to remove oil and dirt from your hair and scalp, but it also opens the outer cuticle layer of your hair, causing it to lose moisture and appear dry, brittle and frizzy. Cold water closes and seals the cuticle layer, keeping your hair strong, sleek and shiny.  You should also pay attention to where the water we use to wash our hair comes from.  Water that comes from the city is treated with chlorine to kill off bacteria.  Too much chlorine can dry out your hair and can cause discoloration.  If your water comes from a well, it often has a higher concentration of minerals such as calcium and limestone.  These too can build up on your hair and can cause it to dry out.  You can combat these symptoms by adding a good clarifying shampoo to your routine at least once a week to remove any mineral deposits or chlorine buildup.  Redken’s Clean Maniac Clean-Touch Shampoo is powered by micellar technology to gently remove impurities and product buildup like a magnet for a non-stripping cleanse.

Humidity

Did you know that your hair can absorb 30%-50% of its weight in water? And this doesn’t even have to be in a shower or pool. It can absorb water from the air, which is why on humid days your hair can be unmanageable: its continually absorbing water that affects its structure and shape!

By: Emily Hart

GrandeLASH has arrived at Salon Adrian, so we put it to the test!

[symple_heading style=”” title=”GrandeLASH Product Review, by Emily Hart” type=”h2″ font_size=”26″ text_align=”left” margin_top=”30″ margin_bottom=”30″ color=”undefined” icon_left=”” icon_right=””]

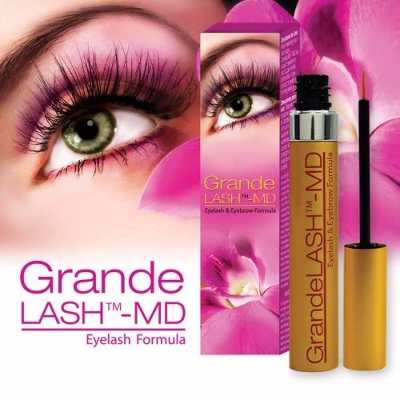
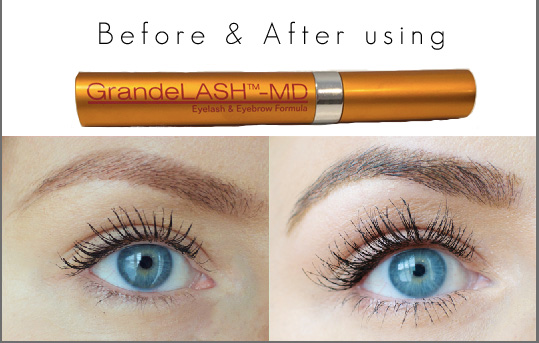
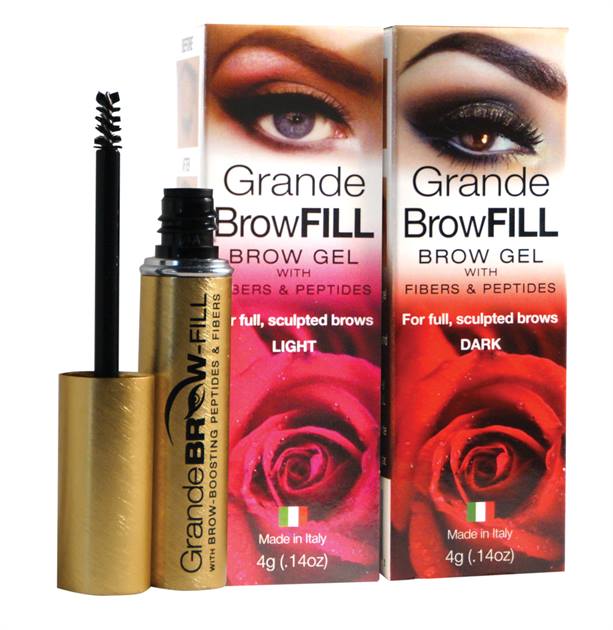
We are very excited to now be carrying the Grand Cosmetics products, GrandeLASH, GrandeBROW, and GrandeBROW Fill (light and dark.)  Now we aren’t going to bring these products into the salon without thoroughly testing them ourselves, and I can honestly say that they work wonders.  I’ve been using all three products for about 2 months now and have seen a great improvement in the thickness and length of my eyelashes and a noticeable improvement in the density of my eyebrows.

So here’s the science behind why it works so well.  These award-winning lash and brow enhancing serums are infused with a proprietary blend of vitamins, antioxidants, and amino acids to nourish and condition the lashes and brows and a magic ingredient called prostaglandin which is proven to accelerate the lash and brow hair growth process.  This blend creates naturally longer, thicker-looking lashes in just 4-6 weeks, with full results in 3 months.  It’s a favorite for helping to enhance short or thinning lashes, and it’s also ideal for restoring the appearance of brittle or damaged lashes. GrandeLASH-MD is easy, safe, and effective to use as well as vegan, cruelty-free & safe for lash extensions.You don’t have to be super precise when applying the lash serum. Just swipe along upper lash line, just above your lashes. I’ve found that this one application also affects the growth of my lower lashes as well, because my lower lashes have also become thicker and longer.The first changes will come as the new, longer eyelashes begin growing in amidst your older lashes usually within the first 3-5 weeks. Within another month or so, most of the lashes will have been replaced with the new long, thick lashes.

The same goes with the application of the eyebrow serum.  I apply it to the areas that I feel are sparse first and then brush the remaining product through the rest of my brows.  When I am applying my makeup for the day, however, I prefer to use the GrandeBROW FILL brow gel with peptides and fibers.  This formula is great for adding thickness and density to your brows while locking them into place for the entire day.  Now the BrowFILL does not contain prostaglandin so it will not stimulate your brow hairs to grow like the serums do.  The fibers and peptides that are in this product grab onto your natural brow hairs and plump them up, which gives you the appearance of thicker, fuller eyebrows.


So let’s review.  I highly recommend all three of these products.  I use them all everyday and have seen amazing results so far.  I will continue to use and recommend both of the serums and the browFILL and keep you updated on the outcome.  It may be too early to say I’ve found a miracle product but I will say this…I was an everyday-falselash-wearer before I started using the Grande Cosmetics products and i can say that i have not worn false eyelashes in over a month.  Now that is a miracle to me.

Love is in the Hair!

salonadrian braids, Salon Tips, styling tips, volume, women's hair styles
It’s almost Valentine’s Day and love is in the hair. To some, it’s an overly commercialized holiday. But many of us are hopeless romantics, who absolutely ADORE the idea of Valentine’s Day and everything it stands for.
The secret to a great and successful Valentine’s Day night out is to keep it simple, soft and natural.
We asked our stylist to create four of their favorite go-to styles that can be recreated easily and with just a few products and even less time.
Sexy Teased-up Waves
Perfect for sexy singles, this look is unfettered and totally carefree. A word of caution: big, buoyant curls tend to attract a lot of attention.
Start building body in the shower with Pureology’s Clean Volume Shampoo and Conditioner. Then with towel-dried hair and a generous amount of Redken’s Guts sprayed directly onto the roots of the hair at the crown and Redken’s Heat Design through the ends for added volume.
Blow-dry with a large round brush, pulling hair up and out to create lift at the roots. Then wrap random sections around a 1-inch curling iron using Redken’s Iron Shape for heat protection and memory.
Once hair cools, brush through the curls and tease at the crown. Finish with a light mist of Redken’s Forceful Hairspray for touchable hold and shine.
Super Sleek Pony
It’s simple but chic. The power of a good ponytail should never be underestimated. You can never go wrong with a perfectly sleek ponytail
 
Blow-dry hair smooth with Redken’s Diamond Oil Glow Dry. Using a rounded soft bristle brush smooth hair into a sleek, high ponytail.
Make sure to smooth out all bumps. Use another small amount of the Diamond Oil Glow Dry over pulled back area for a glossy finish.
Take a piece of the pony from the underside and wrap around the base of the ponytail and secure with a pin to hide the elastic. Spray the whole look with Redken’s Forceful Hairspray for hold and shine.
Undone Bun
Inspired by the classic ballerina bun, this ultra-chic top knot is strong and sexy. This is a great way to update your usual, thrown together bun-look while still looking soft and girly.
 
Spray your second-day waves with Redken’s Pillow Proof Two-Day Extender Dry Shampoo to refresh yesterday’s style and for some extra texture.
Smooth hair towards the top of the crown with a soft bristle brush and secure with an elastic. Holding the ends of the pony spin until the tail begins to wrap around itself.
Loosen spots around the strands and secure with pins as you wrap the section into a bun shape. Spray with Redken’s Wind Blown Hairspray for lightweight hold and texture.
Simple Sexy Side Braid
This one requires hardly any effort but still feels appropriate for a night out on the town. With its deliberately tousled texture, the new side braid has a sweet coquettish charm.
 
Spray dry hair down with Redken’s Fashion Waves Texture Spray. This gives a slightly salted, beachy feel to the hair.
Reserve a few small pieces around your face to create a soft fringe and direct the rest of the hair to the side opposite your part. Separate the hair into three even sections. Braid down the strands holding your hands to one side of your face.
Secure with an elastic and loosen some strands while moving back up the braid to give it an undone feel. Bend the few strands you left out around a 1” curling iron to create a soft, face-framing wave. Finish with Redken’s Windblown Hairspray for a windswept lived in feel.

Simple DIY Style: Braided Mohawk Bun

salonadrian braids, easy hairstyles, hair care, healthy hair, long hair, Redken, Salon Tips, styling tips

DIY Braided Mohawk Bun
From everyday braid styles to undo’s for special occasions, we’ve got everything you need to create an easy yet elegant hairstyle all by yourself. Sometimes, reinventing your look and feeling like a million bucks is as simple a trying something new with your hair.
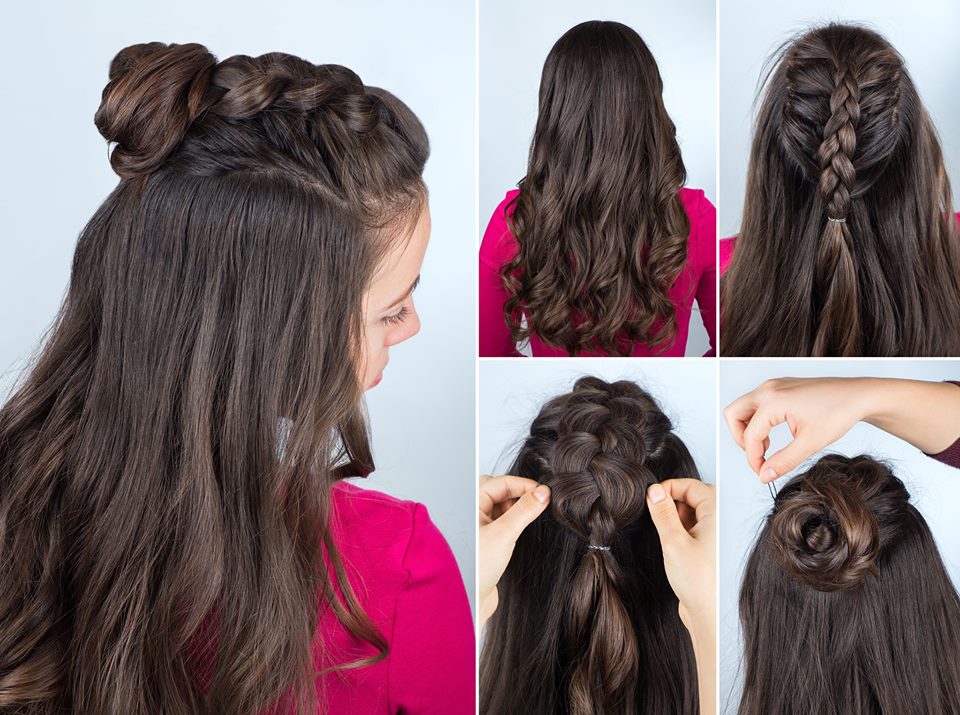
This braided mohawk bun is a simple style that easily transitions from day to night and can be worn dressed up or casual. Working with hair that is already waved, add some Redken Pillow Proof Two Day Extender Dry Shampoo at the root to absorb any oils from the scalp and create a slightly ruffed-up texture.
Start with a part that extends from both temples back towards the crown of the head. Create an inverted french braid beginning quite close to the front hairline.
Secure the braid at the crown with an elastic. Working from back to front, loosen the outside sections to add volume to your braid.
Gather the unbraided ends of the section and begin twisting, pulling random pieces out as you go. Let the section twist in onto itself and create a bun shape.
Secure with pins and finish with Redken Windblown Hairspray for an airy, ethereal feel.

True Fantasy Hair Requires More Than Just Hocus Pocus

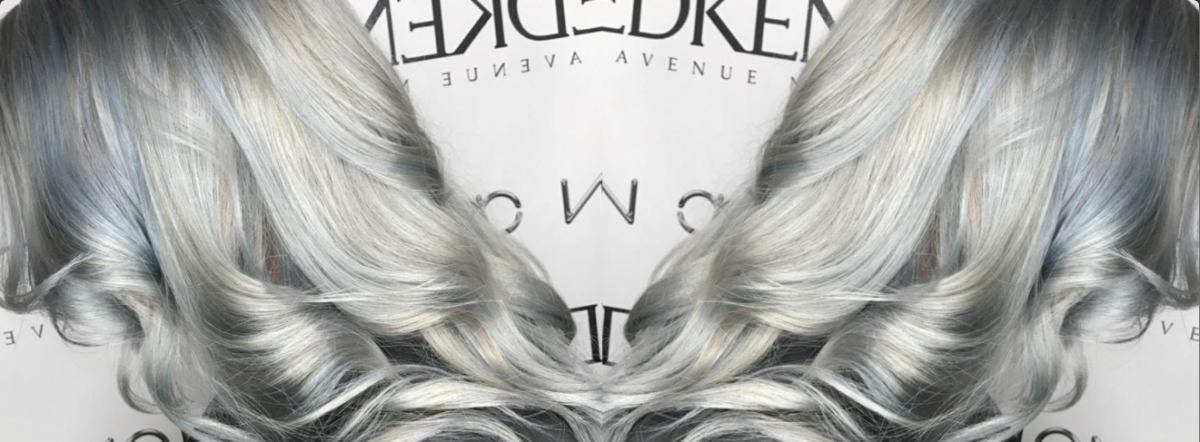
A growing trend that we’re seeing this year is fantasy tresses, hair dyed grey and silver. As the trend sweeps over our area a lot of guest are coming into Salon Adrian wanting to achieved this look and we love it! Trends like these gives us an opportunity to flex our creative muscles, but with new and popular trends it’s always important to set guest expectations.
To achieve this look and obtain a true silver color, like Jessica was able to do for her guest requires a great level of commitment and investment. To maintain the health of the hair and the vibrant color is a serious undertaking.
From dark and brassy to silver and icy doesn’t happen with a blink of an eye. So, if you’re considering a major hair color transformation like this rising trend, you want to keep reading to find out how this look is achieved.
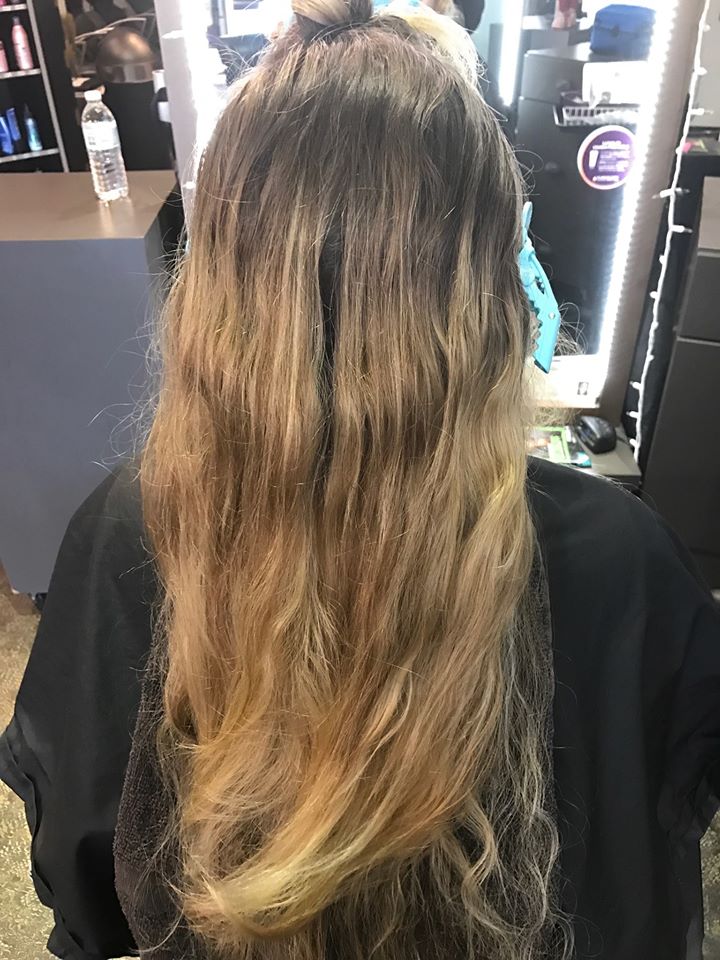
Take a look at this before picture:
 Before-IcyGrey
Jessica’s guest came in with 4” of regrowth and old balayage highlights that had turned quite brassy. There were a lot of different color action going on!
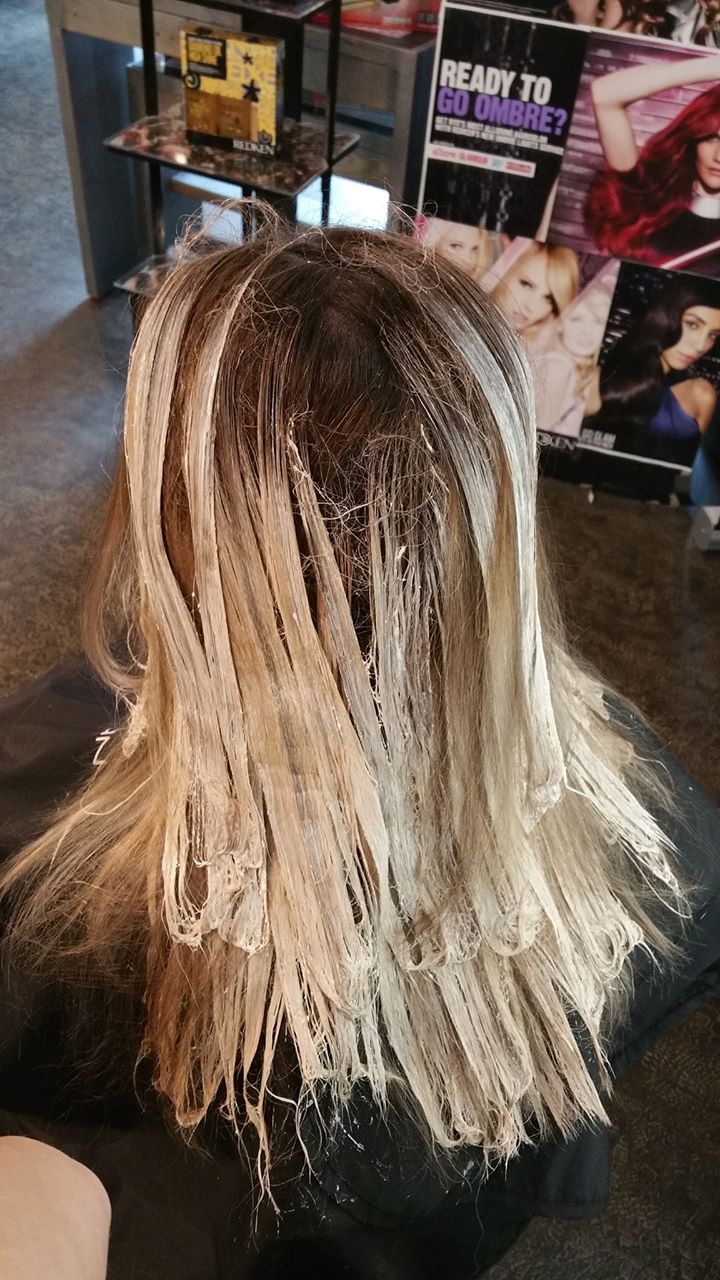
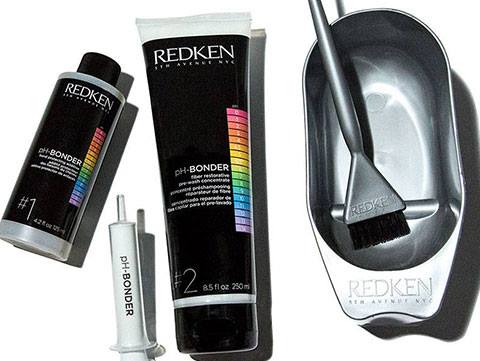
Step 1: Jessica used Redken FlashLift with 40 volume and pHBonder to lighten in Zone 2.
(Zone 2 describes the mid shaft of the hair strand; starting from an inch away from the scalp to about two inches from the ends.)
TheProcess
She used a balayage technique to achieve a easy natural blend coming off the root area but saturated well to lighten the darkest part of the hair and remove any brassiness in the mid shaft.
Time: Approx. 45 minutes
Step 2: Then she thoroughly rinsed the hair making sure to remove all signs of the product. Followed by an application of Redken’s pHBonder Step 2 treatment and shampoo using Redken Extreme Shampoo and finally using Redken’s Chemistry Extreme Shot to strengthen the hair in preparation for color deposit.
 
Time: Approx. 10 minutes
 Treatment
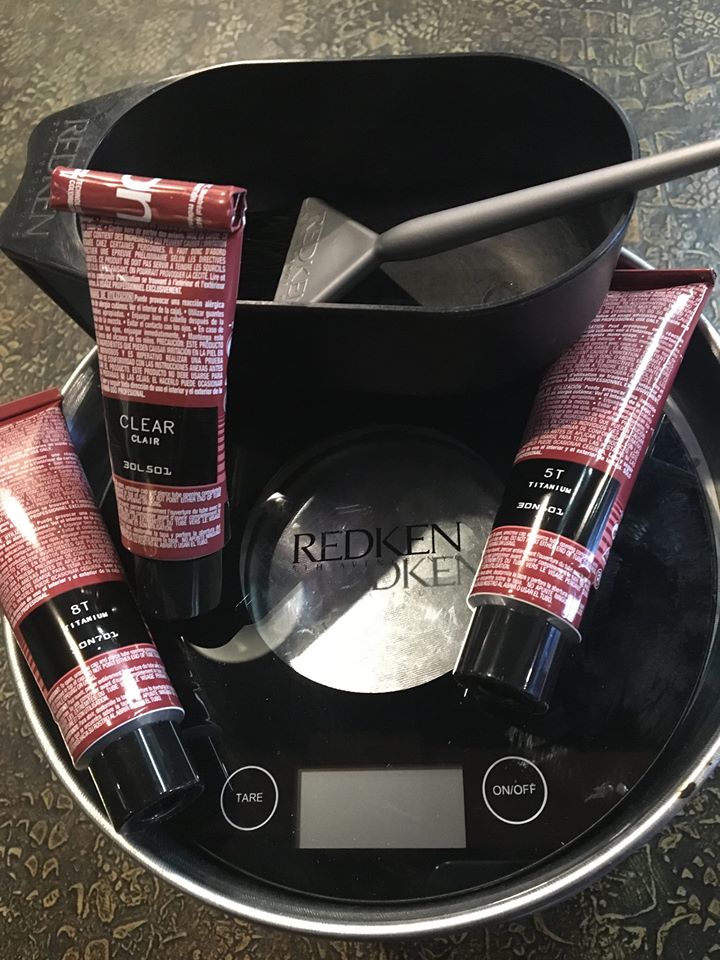
Step 3: The Color! A base color application using Redken Color Fusion in 5T with 10 volume then Jessica stretched the root out about two-inches. Then she added highlights with Redken Hi-Fusion B with 10 volume. The remaining color was applied using equal part Color Fusion clear and 8T with 10 volume.
Step 4: Cut and Style.
Jessica gave her guest a long layered haircut and then applied Redken PillColorow Proof Primer & Guts 10 to her roots. To give her a smooth and voluminous blow-dry with lots of movement she applied  Satinwear 04 to her ends.
For heat protection and hold Jessica applied  Iron Shape 11 then curled the hair back and away from her face using a 1 1/4 inch curling iron. This creates a soft wave that perfectly accents her amazing color!
Finish with Fashion Work 12 for a medium hold and workability. Jessica sent her client home with four products: Redken Color Extend Magnetics Shampoo and Conditioner to maintain her color, the brand new Extreme Mega Mask to keep her hair nice and strong and pHBonder Step 3 to use once a week before her shampoo to maintain her hair’s natural pH levels.
Results
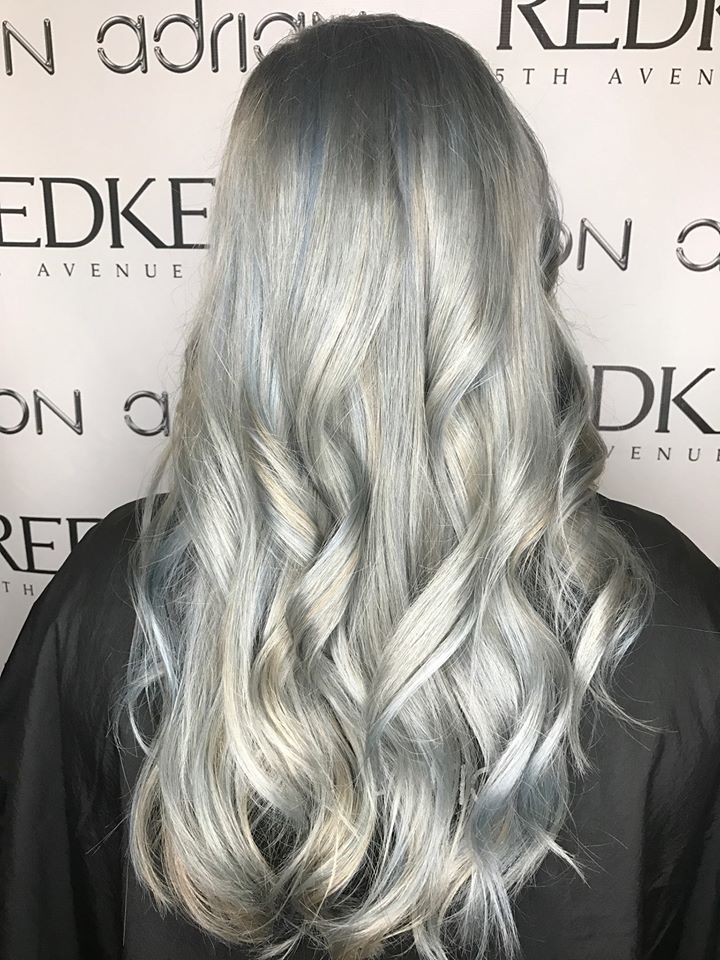
The result is a gorgeous icy silver blonde with hints of blue! An investment of time and resources but all worth it.
Considering a hair transformation but not sure where to start? Here are some tips from Redken on speaking to your stylist about your hair color. It takes more than hocus pocus to achieve beautiful results and the stylist at Salon Adrian are ready and willing to make all your hair color dreams come true!
To book your next appointment give us a call at (239) 481-1010.