Heat-Free Styling: 5 easy heat-free hairstyles
written by: Emily Hart @hartofcolor
We’ve come to that time of the year when it’s just too damn hot to do things. Cooking, exercising, moving — not going to happen. But, perhaps the biggest no-no of all is heat-styling. When it’s 90F-plus out, and the humidity levels are through the roof, the last thing any of us wants to do is blast our already overheated heads with hot air from our blow dryers. Same goes for our curling and straightening irons.
Just because the thought of styling tools makes you want to stand in front of the AC and never leave, that doesn’t mean you are doomed to a summer of lackluster hair. On the contrary — there are so many great products and techniques that make air-dried hair look just as good, if not better than, heat-styled hair.
If you want a break from blow-dryers, straighteners, and curling wands, try wet-styling your hair instead — as in styling your hair while it’s towel-dried (or spraying it so it’s damp), setting it, and unraveling it later for a gorgeous, dry ‘do.
For the below looks, start out with damp hair. However, if you want any of these styles to have a looser wave, wait until your hair is 80 percent dry, or dampen your dry hair with a spray bottle, before getting started. The wetter your hair is when you start, the longer each look will take to set, and the stronger your hair will hold the style.
-
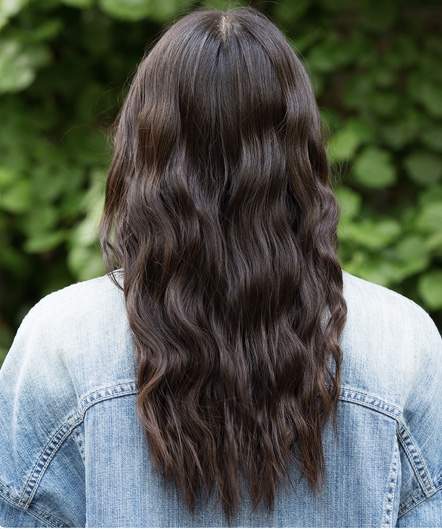
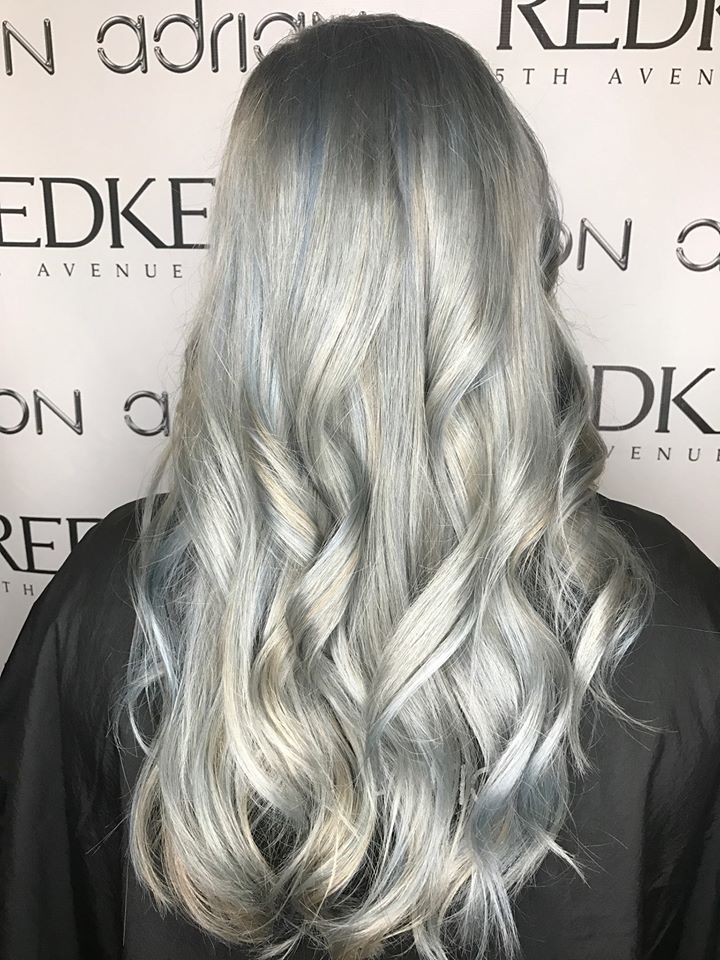
Loose Braid Waves
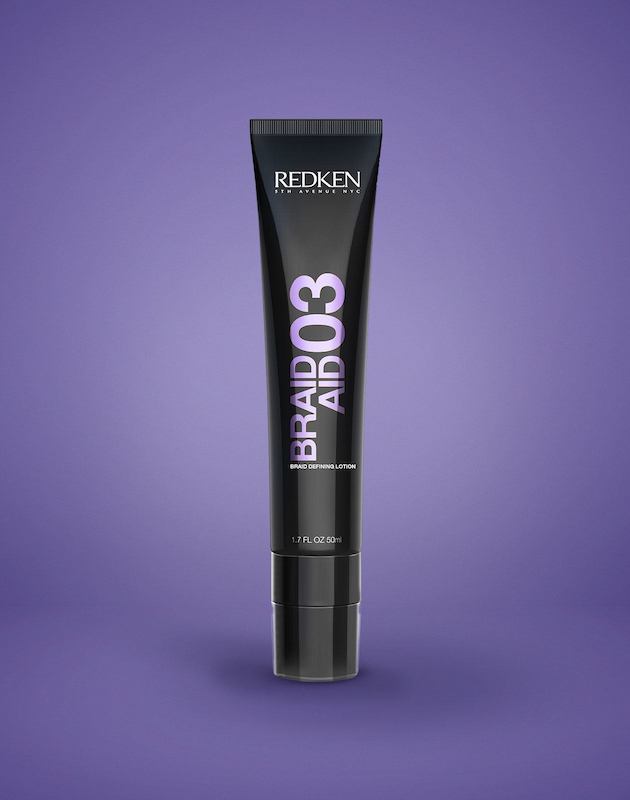
Start with damp hair and apply Redken Braid Aid 03. This will help to define the curls in the final look
Loosely braid your hair in four equal sections. Don’t worry if the braids aren’t perfect. The lumpier and messier they are, the more organic your waves will look.

Unravel the braids. If the ends have creases, spray a little water on them to loosen them up.
-
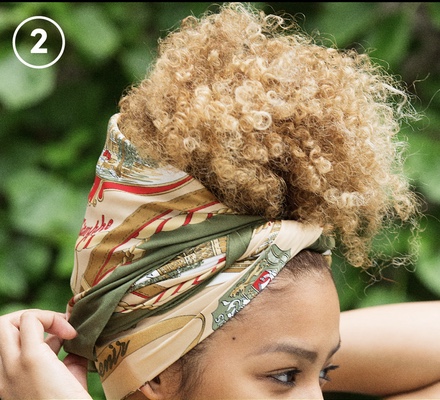
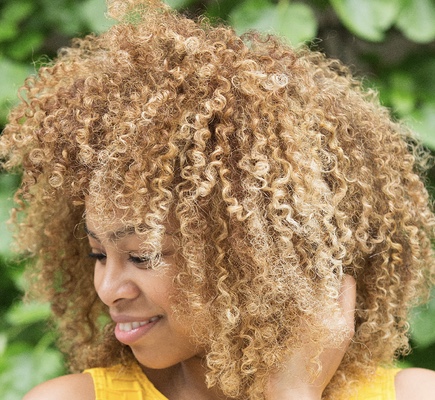
Pineappling
Gather dampened, curly hair into a high ponytail. Use a scrunchie to loosely hold it in place on top of your head. Only pull your hair through the scrunchie once or twice to prevent creasing.

Wrap your hair in a silk scarf while you sleep. Silk keeps in moisture and prevents your hair from becoming dry and frizzy. That way, when you take down your hair in the morning, you’ll be left with defined, voluminous curls.
Finish with Redken Frizz Dismiss Anti-Static Oil Mist. This product is great for taming fly-aways, adding shine, and repelling unwanted static and humidity.

-
Headband Curls
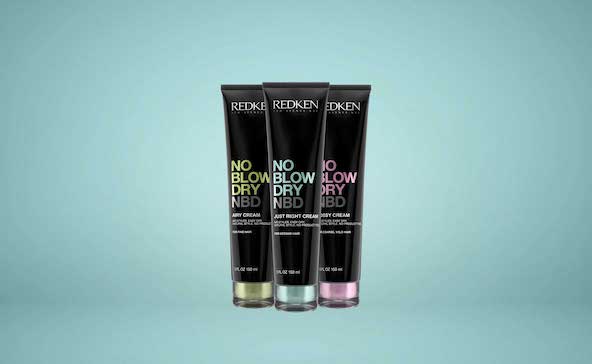
Prep your hair with Redken No Blowdry Styling Cream. There are 3 different strengths of this product (airy, just right, and bossy) so pick whichever one suits your hair type the best.
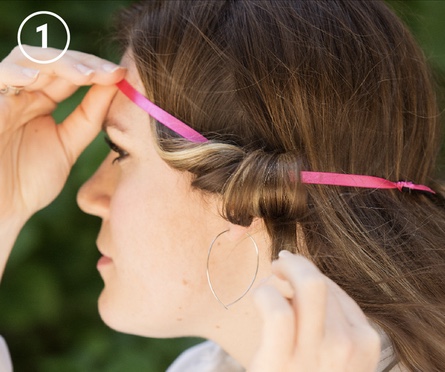
Slip a circular headband around your head and wrap small sections of hair around it. If your hair is already dry, lightly dampen it with a spray bottle and place an elastic headband securely around your head;otherwise, start with it 80 percent dry. Next, loosely tuck 1- to 2-inch sections of hair over and around the top of the elastic (this will cause the curls to flow away from your face rather than toward it); do this until you reach the middle back of your head. Repeat on the other side. If you want your curls to be smaller, wrap the hair around the band tighter; for larger curls, wrap it looser.
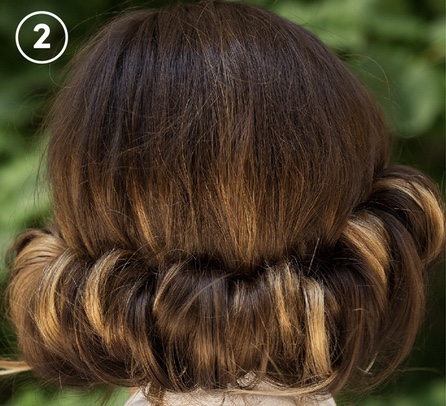
Repeat step one until all your hair is wrapped around the headband
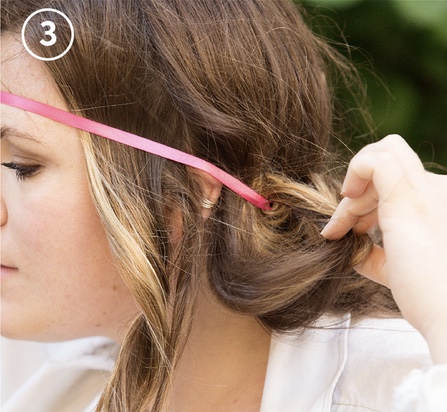
Unwrap your hair from the headband and slip it off to reveal your cool-girl curls. Use your fingers to separate the curls and fluff your hair.

-
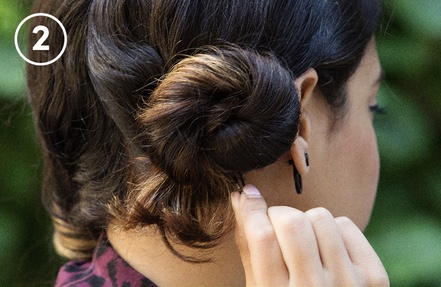
Low Bun Waves
Split your hair in two sections and twist. This style is great if you prefer your hair to be smoother at the roots and wavier at the ends. Comb one section into a tight, low side ponytail and then twist the tail down to your ends.

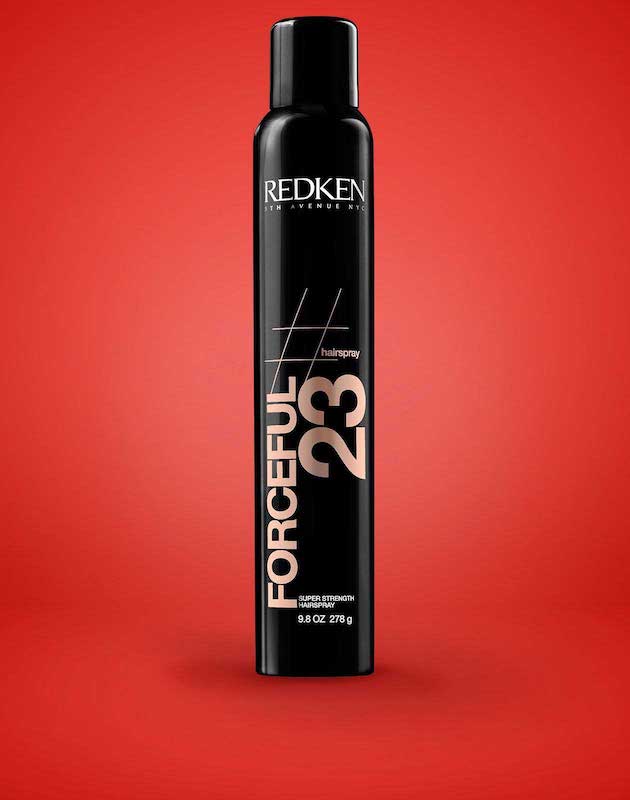
Spray the twist with a good strong hairspray. We suggest Redken Forceful for maximum hold without the crunch.
Spin the twist into a low bun. Secure with one elastic or a bobby pin. Repeat these steps on the other side, so you have two buns. Once the hair is dry, unravel the buns and use your fingers to separate the waves.
Finish with some more Forceful Hairspray. This has humidity resistance and will hold and define your curls without drying them out.
-
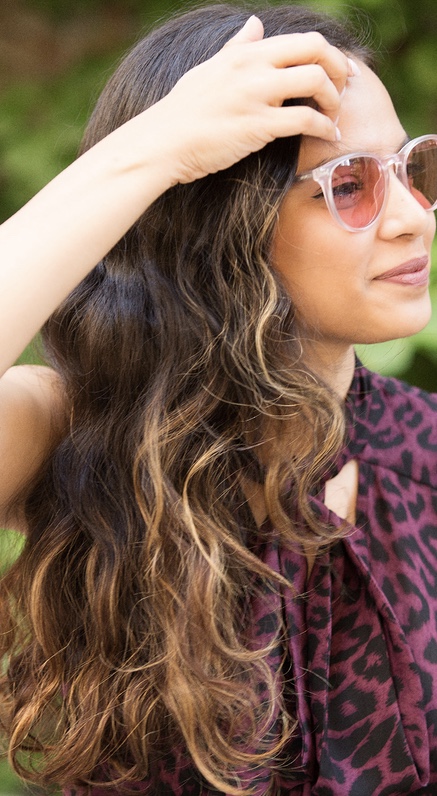
Sleep-in Beachy Waves
Apply the Redken No Blow Dry styling cream of your choice to damp hair. Allow your hair to dry at least 80% in the open air
Split your hair into 2 sections from your natural part, all the way back to the nape of your neck. Create 2 french braids, one on each side of your head, making sure to keep the sections loose. If the braid is too tight you with have uneven curls and crimps instead of beachy waves.

Go to sleep. Try wrapping a silk scarf around your head and the braids while you sleep to prevent the braids from getting fuzzy.

Pull out your braids in the morning and use your fingers to separate the waves. Finish with Redken Triple Dry Texture Spray for organic, beachy waves.


 Open the bottle and sniff. You’re checking to make sure the product still smells as it’s intended and is not offputting. Pour some of the product into your hand and check for separation or clumps and if it has a strange tint like yellowing or
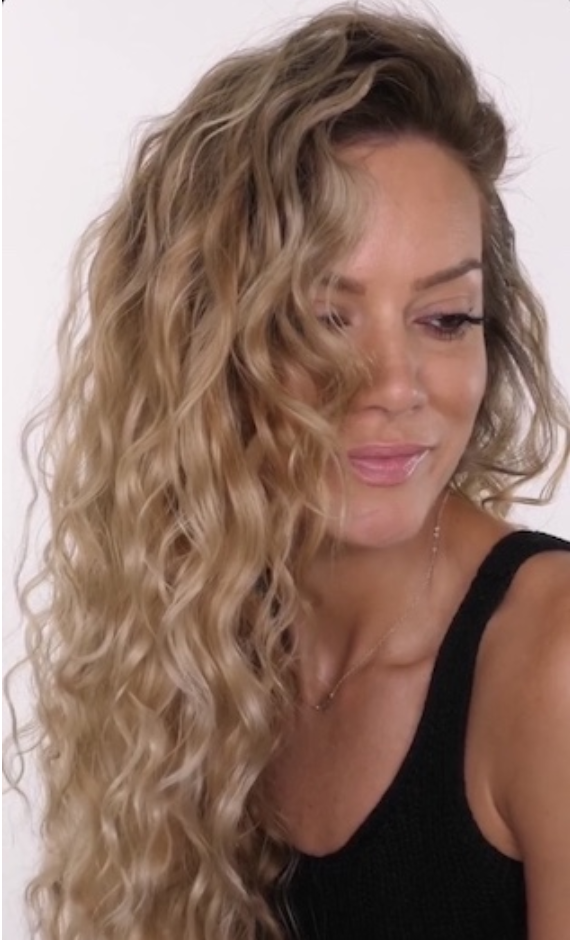


Recent Comments