Heat-free Hairstyling: 5 easy styles that require no heat to achieve

Heat-Free Styling: 5 easy heat-free hairstyles

written by: Emily Hart @hartofcolor

We’ve come to that time of the year when it’s just too damn hot to do things. Cooking, exercising, moving — not going to happen. But, perhaps the biggest no-no of all is heat-styling. When it’s 90F-plus out, and the humidity levels are through the roof, the last thing any of us wants to do is blast our already overheated heads with hot air from our blow dryers. Same goes for our curling and straightening irons.

Just because the thought of styling tools makes you want to stand in front of the AC and never leave, that doesn’t mean you are doomed to a summer of lackluster hair. On the contrary — there are so many great products and techniques that make air-dried hair look just as good, if not better than, heat-styled hair.

If you want a break from blow-dryers, straighteners, and curling wands, try wet-styling your hair instead — as in styling your hair while it’s towel-dried (or spraying it so it’s damp), setting it, and unraveling it later for a gorgeous, dry ‘do.

For the below looks, start out with damp hair. However, if you want any of these styles to have a looser wave, wait until your hair is 80 percent dry, or dampen your dry hair with a spray bottle, before getting started. The wetter your hair is when you start, the longer each look will take to set, and the stronger your hair will hold the style.


  1. Loose Braid Waves

Start with damp hair and apply Redken Braid Aid 03.  This will help to define the curls in the final look


Loosely braid your hair in four equal sections. Don’t worry if the braids aren’t perfect. The lumpier and messier they are, the more organic your waves will look.


Unravel the braids. If the ends have creases, spray a little water on them to loosen them up.

  1. Pineappling

Gather dampened, curly hair into a high ponytail. Use a scrunchie to loosely hold it in place on top of your head. Only pull your hair through the scrunchie once or twice to prevent creasing.

Wrap your hair in a silk scarf while you sleep. Silk keeps in moisture and prevents your hair from becoming dry and frizzy. That way, when you take down your hair in the morning, you’ll be left with defined, voluminous curls.

Finish with Redken Frizz Dismiss Anti-Static Oil Mist.  This product is great for taming fly-aways, adding shine, and repelling unwanted static and humidity.


  1. Headband Curls

Prep your hair with Redken No Blowdry Styling Cream.  There are 3 different strengths of this product (airy, just right, and bossy) so pick whichever one suits your hair type the best.


Slip a circular headband around your head and wrap small sections of hair around it. If your hair is already dry, lightly dampen it with a spray bottle and place an elastic headband securely around your head;otherwise, start with it 80 percent dry. Next, loosely tuck 1- to 2-inch sections of hair over and around the top of the elastic (this will cause the curls to flow away from your face rather than toward it); do this until you reach the middle back of your head. Repeat on the other side. If you want your curls to be smaller, wrap the hair around the band tighter; for larger curls, wrap it looser.


Repeat step one until all your hair is wrapped around the headband


Unwrap your hair from the headband and slip it off to reveal your cool-girl curls. Use your fingers to separate the curls and fluff your hair.


  1. Low Bun Waves

Split your hair in two sections and twist. This style is great if you prefer your hair to be smoother at the roots and wavier at the ends.  Comb one section into a tight, low side ponytail and then twist the tail down to your ends.

Spray the twist with a good strong hairspray.  We suggest Redken Forceful for maximum hold without the crunch.

Spin the twist into a low bun. Secure with one elastic or a bobby pin. Repeat these steps on the other side, so you have two buns. Once the hair is dry, unravel the buns and use your fingers to separate the waves.

Finish with some more Forceful Hairspray.  This has humidity resistance and will hold and define your curls without drying them out.

  1. Sleep-in Beachy Waves

Apply the Redken No Blow Dry styling cream of your choice to damp hair.  Allow your hair to dry at least 80% in the open air

Split your hair into 2 sections from your natural part, all the way back to the nape of your neck.  Create 2 french braids, one on each side of your head, making sure to keep the sections loose.  If the braid is too tight you with have uneven curls and crimps instead of beachy waves.

Go to sleep. Try wrapping a silk scarf around your head and the braids while you sleep to prevent the braids from getting fuzzy.


Pull out your braids in the morning and use your fingers to separate the waves. Finish with Redken Triple Dry Texture Spray for organic, beachy waves.


Turn Down That Iron: 10 signs that your hair is damaged by using too much heat

Turn Down That Iron!

10 signs that your hair is damaged by using too much heat.

Arguably the hottest topic (pardon the pun) throughout the hair care world in the past few years has been heat protection. Irons and blow dryers can produce many short-term hair benefits. Freshly heated hair feels soft and smooth; possesses a high level of shine; frizz is minimized and the newly styled hair moves in an attractive, flowing motion. Only later, when these benefits wear off, do the cumulative effects of this rather harsh process materialize—as the hair can become rough, fragile and unruly.

For many, the benefits overwhel­mingly outweigh the negatives.  Direct heat is an essential hair styling tool that many people use daily for styling their hair. Curling, straightening, drying, and dyeing all involve some type of heating. We often don’t realize that by trying to maintain and style our hair we are causing more damage.

Often, the heat we use regularly is our hair’s worst enemy. The damage it causes after just one use can take months to repair. The more heat you use to style your locks, the more damage accumulated.  It’s a vicious cycle.

Symptoms of Hair Damage

Here are 10 obvious and not-so-obvious symptoms that your hair has been damaged by the heat you use.

1. Excessive Hair Shedding

It’s important to remember that hair shedding is a natural process. An average person loses about 50 – 100 hairs per day. However, if you feel as if you are shedding more than usual, you might be suffering from heat-induced hair problems.

The easiest way to check if you are shedding more hair than before is to look at the hairs left in the drain after taking a shower. The clump of hair shouldn’t be more than an inch in diameter.

2. Split Ends

Everyone gets split ends. It’s a natural process of hair growth. On average, your hair will start to split 6-8 weeks after you get it cut.  The splits should only be noticeable on the last inch of your hair.  If your ends split sooner than 6 weeks, never go away completely after your cut, or if you notice splits appearing higher up on the hair shaft, you may have heat damage.

3. No More Curls

If you have curly hair and use heat on a regular basis, you can face an unfortunate reverse effect. The curls become lazy and might disappear altogether. However, this is not the, “grass is always greener” scenario you may have dreamed of as a kid. You can be left with dull, lifeless semi-straight pieces of hair that will no longer hold a curl.

4. Porous Hair

Porosity refers to how well your hair can absorb and hold moisture. It is affected by the flexible outer hair layer called the cuticle, which determines how easily moisture and oils pass in and out of your hair.  When the hair is overly porous, it doesn’t easily absorb the products and color we use.  This causes the color to fade faster, requiring more frequently touch-ups, and makes the hair appear dry, brittle and damaged.

5. No Shine or Luster

Heat is the natural enemy of shine. That’s because high temperatures damage the natural lipids (fancy word for oils) that help keep hair flexible and shiny

Think about just how much heat many of us expose our hair to regularly. Blow dryers, flat irons, and even hot oil treatments are just a few ways we keep the heat on. These things work well for maintaining and styling hair, but they aren’t so great for keeping it healthy and shiny.  You don’t have to stop using blow dryers and irons completely, but it’s smart to cut back for a while to give your hair time to heal. Air-drying takes longer, though it’s completely safe and the longer your hair is wet the more the hair shafts can absorb moisture and reach the cortex of your strands allowing your hair’s natural luster and shine to come through.

6. Feeling of Dryness

The feeling of dryness is one of the most obvious symptoms of heat damaged hair. Besides looking dry and dull, the hair feels dry. No matter how many conditioners and leave-in products you use to give the hair some moisture, it stays dry. Thermally damaged hair does not fully regain the moisture that it loses during heat styling.  It also does not retain moisture well because of the changes in protein structure and loss of lipids.  What that means is that hair ends up feeling drier/coarser over time.  The most damaged areas can even feel like straw over time.

7. No More Elasticity

Healthy hair is elastic. Hair’s elasticity is the measure of how much it will stretch.  Hair with proper elasticity is strong with a healthy cortex, allowing it to stretch without breaking and easily spring back to its original shape. Healthy hair, when wet, will stretch up to 50% of its original length and return to its normal shape without breaking, while dry hair will only stretch about 20%. Excessive heat can cause your hair to lose elasticity. By using irons and dryers that are too hot, you are forcing your hair cuticle to swell and remain open, which allows moisture, nutrients and even your color to flow out of your hair strand.  These elements are essential to healthy hair elasticity.  If you try pulling on one hair strand and it breaks immediately, it suffers from poor elasticity.

8. Too Tangled

If you are having trouble keeping your hair neat even though you are brushing it on a regular basis, it can be the sign of overheating. Healthy and elastic hair doesn’t get tangled up without a reason (like strong wind or restless sleep). If knots and tangles are regularly giving you trouble, your hair may be damaged.

9. Hard to Manage

If the 5 minutes you used to spend on styling your hair in the morning are turning into a tedious half an hour, your locks are most likely damaged by the heat you use regularly. Damaged hair is hard to style. It takes longer to dry, and can quickly become frizzy and messy even after styling is completed. If you are ending up wearing a ponytail just because holding the hair in place is impossible, consider new styling methods that don’t include heat to give your hair the break it needs to restore moisture, shine and manageability.

10. The Wrong Hair Color

Color change in the hair can be a sign of heat damage in two ways.  First, hair that is damaged and porous can absorb too much color too quickly, like a dry sponge. If your hair color begins appearing darker over time and your stylist hasn’t changed your color formula, your hair could be heat damaged. Secondly, hair that is freshly colored is also vulnerable to excessive heat. It can take up to 2 weeks after a color service for your hair cuticle to close completely. During this time, if you are using tools that are too hot you are forcing your cuticle to swell and remain open.  You can notice your hair become lighter almost instantly.

What can be done?

These heat damaged hair symptoms come one by one or all at once. If you realize that you have head-damaged locks, stop using all your heat producing styling tools, use a hair mask or treatment regularly to help restore your hair’s moisture balance and start looking for no-heat styling alternatives.

The most effective way to combat heat damage is to turn down those irons and dryers.  Most people turn their flat irons and blow dryers up to the highest temperature, thinking the higher the heat, the better it works. Today’s irons and tools can reach more than 450 degrees Fahrenheit. Considering that water boils at 212-degrees, you definitely don’t need to be using tools set more than double the boiling point of water. We recommend keeping the temperature set below 300-degrees. If you have coarse, curly or unruly hair then you might need a little more heat but avoid going over 330-degrees. The most important step is to ALWAYS use a heat-protector whenever styling with heat.  This acts as a barrier between your hair and the direct heat source and can significantly improve the overall health of your hair.

Another method to combat heat damage is to try and keep the water you bath with at a lower temperature. Hotter water temperatures cause the hair to swell and loose moisture and color.   Try finishing with a cool water rinse.  This can bring down the swelling and keep the moisture in.  If your hair is already highly porous, you might want to remain on the cooler end of the thermometer while showering.  The water doesn’t have to be cold, but avoid hot.

We hope these signs and symptoms make it easier to diagnose what’s causing your hair problems.  Most of the time, it is possible to avoid using heat for styling so be sure to check back next week for some simple tips and ideas for heat-free styling.

Written by: Emily Hart

50 Tips, Tricks and Hacks for the Perfect Prom Prep

With Prom Season upon us, teenage girls across the country are stressing out over what to wear, how to style their hair, and who’s going to do their makeup.  Well we are here to save the night with 50 of our favorite, foolproof tips, tricks and hacks to make anyone’s Prom Night go off without a hitch, or at least turn any hitches into totally manageable snags.


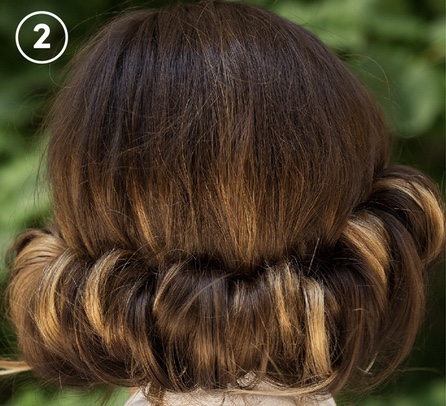
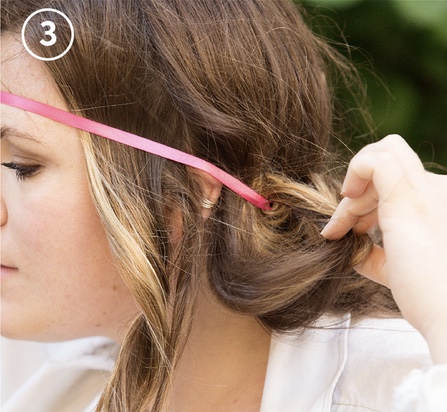
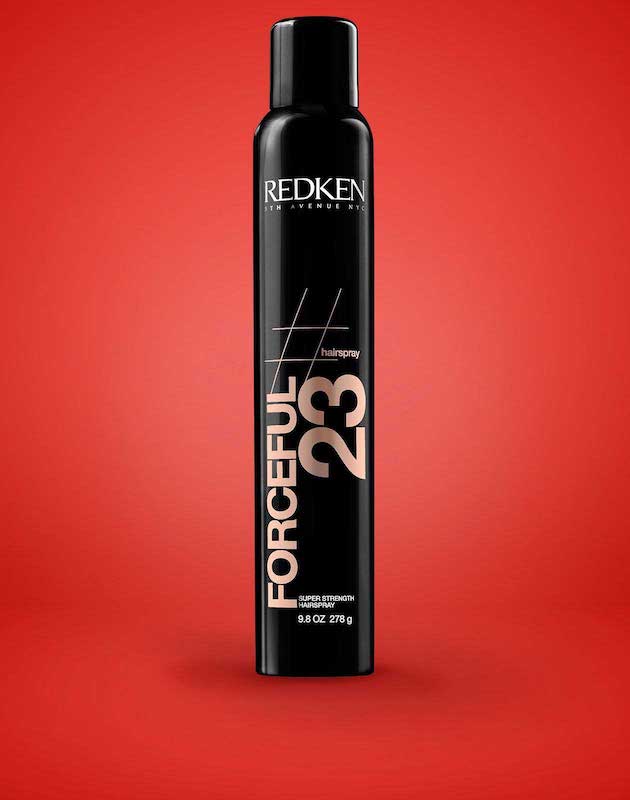
  1. Prevent an updo meltdown. Stash a mini can of hairspray and a few bobby pins at the bottom of your purse. When your hair feels like it’s about to fall, spritz a bobby pin with hairspray and tuck it into your updo. The hairspray makes the pin hold to your prom hairfor extra reinforcement.


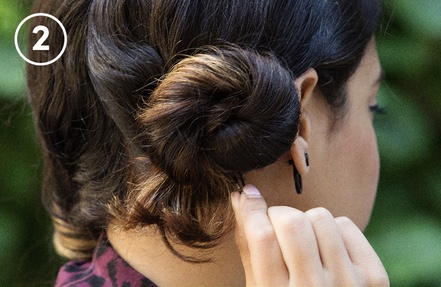
2. Swipe foundation on your ears. Otherwise, when you’re 1,000 degrees from                dancing all night, your ears may redden from the heat and you’ll look two-tone in all your Insta photos.

3. Brighten your smile. Two weeks before prom, swap your regular toothpaste for a whitening one that removes surface stains and protects your teeth from further yellowing. Brush for at least two minutes at a time, and avoid dark soda, coffee and tea.

4. Crank up your glow. If your dress is strapless or mini, slather on a lotion with a shimmering tint, then dust shoulders and collarbones with a bronzing powder for an extra dose of radiance.

5. Double up on hairspray.The secret to getting an updo to last all night is to apply hairspraybefore and after styling to give your strands that extra stick. 

 6. Smell ~irresistible~ all night.Just pat on a teeny amount of Vaseline to areas you normally spritz — your neck, back of wrists, etc. The Vaseline gives the perfume something to hold on to, so it will linger all night long.

7. Keep oil blotting papers handy.Sweat and oil can cause makeup to slip off, so stash blotting papers in your prom-night clutch for touch-ups. Avoid piling on powder, which can look cakey.

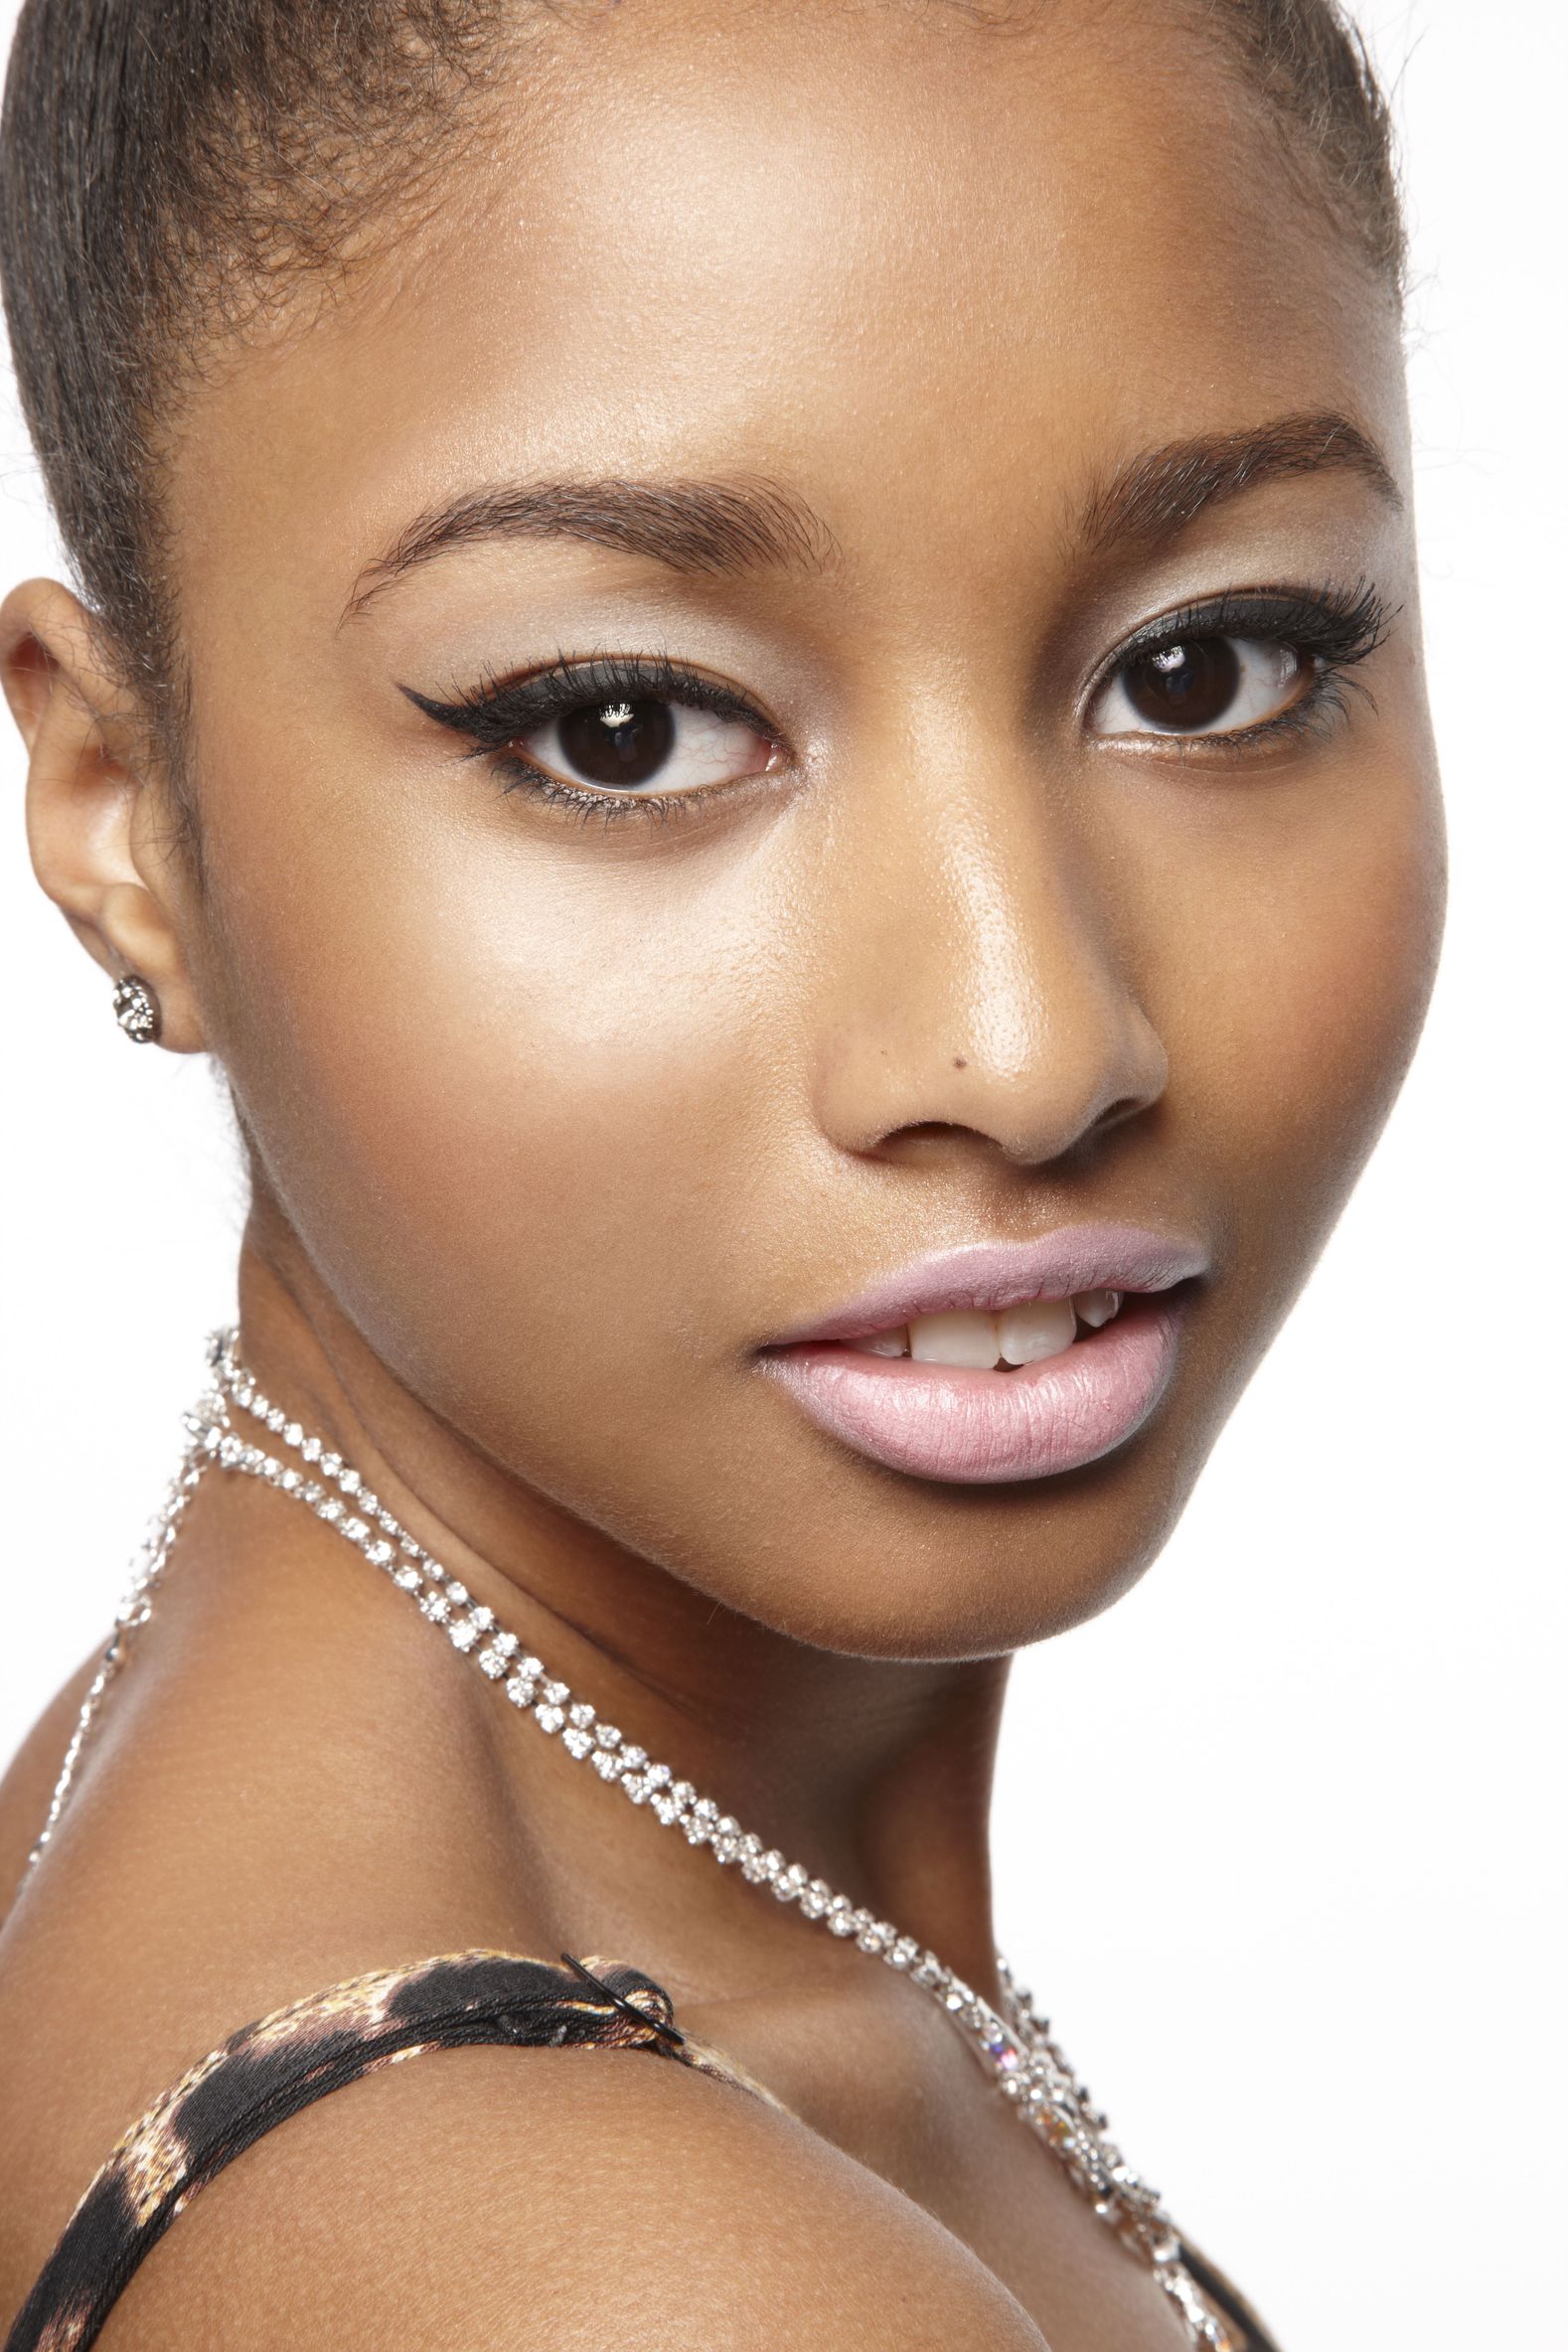
8. Fill in your brows.You don’t need to go Cara Delevingne-crazy, but pro makeup artists swear thatstrong brows make the biggest difference in how you look in professional photos. And by professional photos, we mean the 10,000 your mom will insist you take.

9.Fix streaky faux tan lines.Mix together freshly squeezed lemon juice with a few   teaspoons of baking soda until the powder becomes a paste — the lemon juice is an ultra-mild lightener and the baking soda is a natural exfoliant. Then take a shower and scrub areas of streakiness with the mixture until the unwanted tan lines disappear.

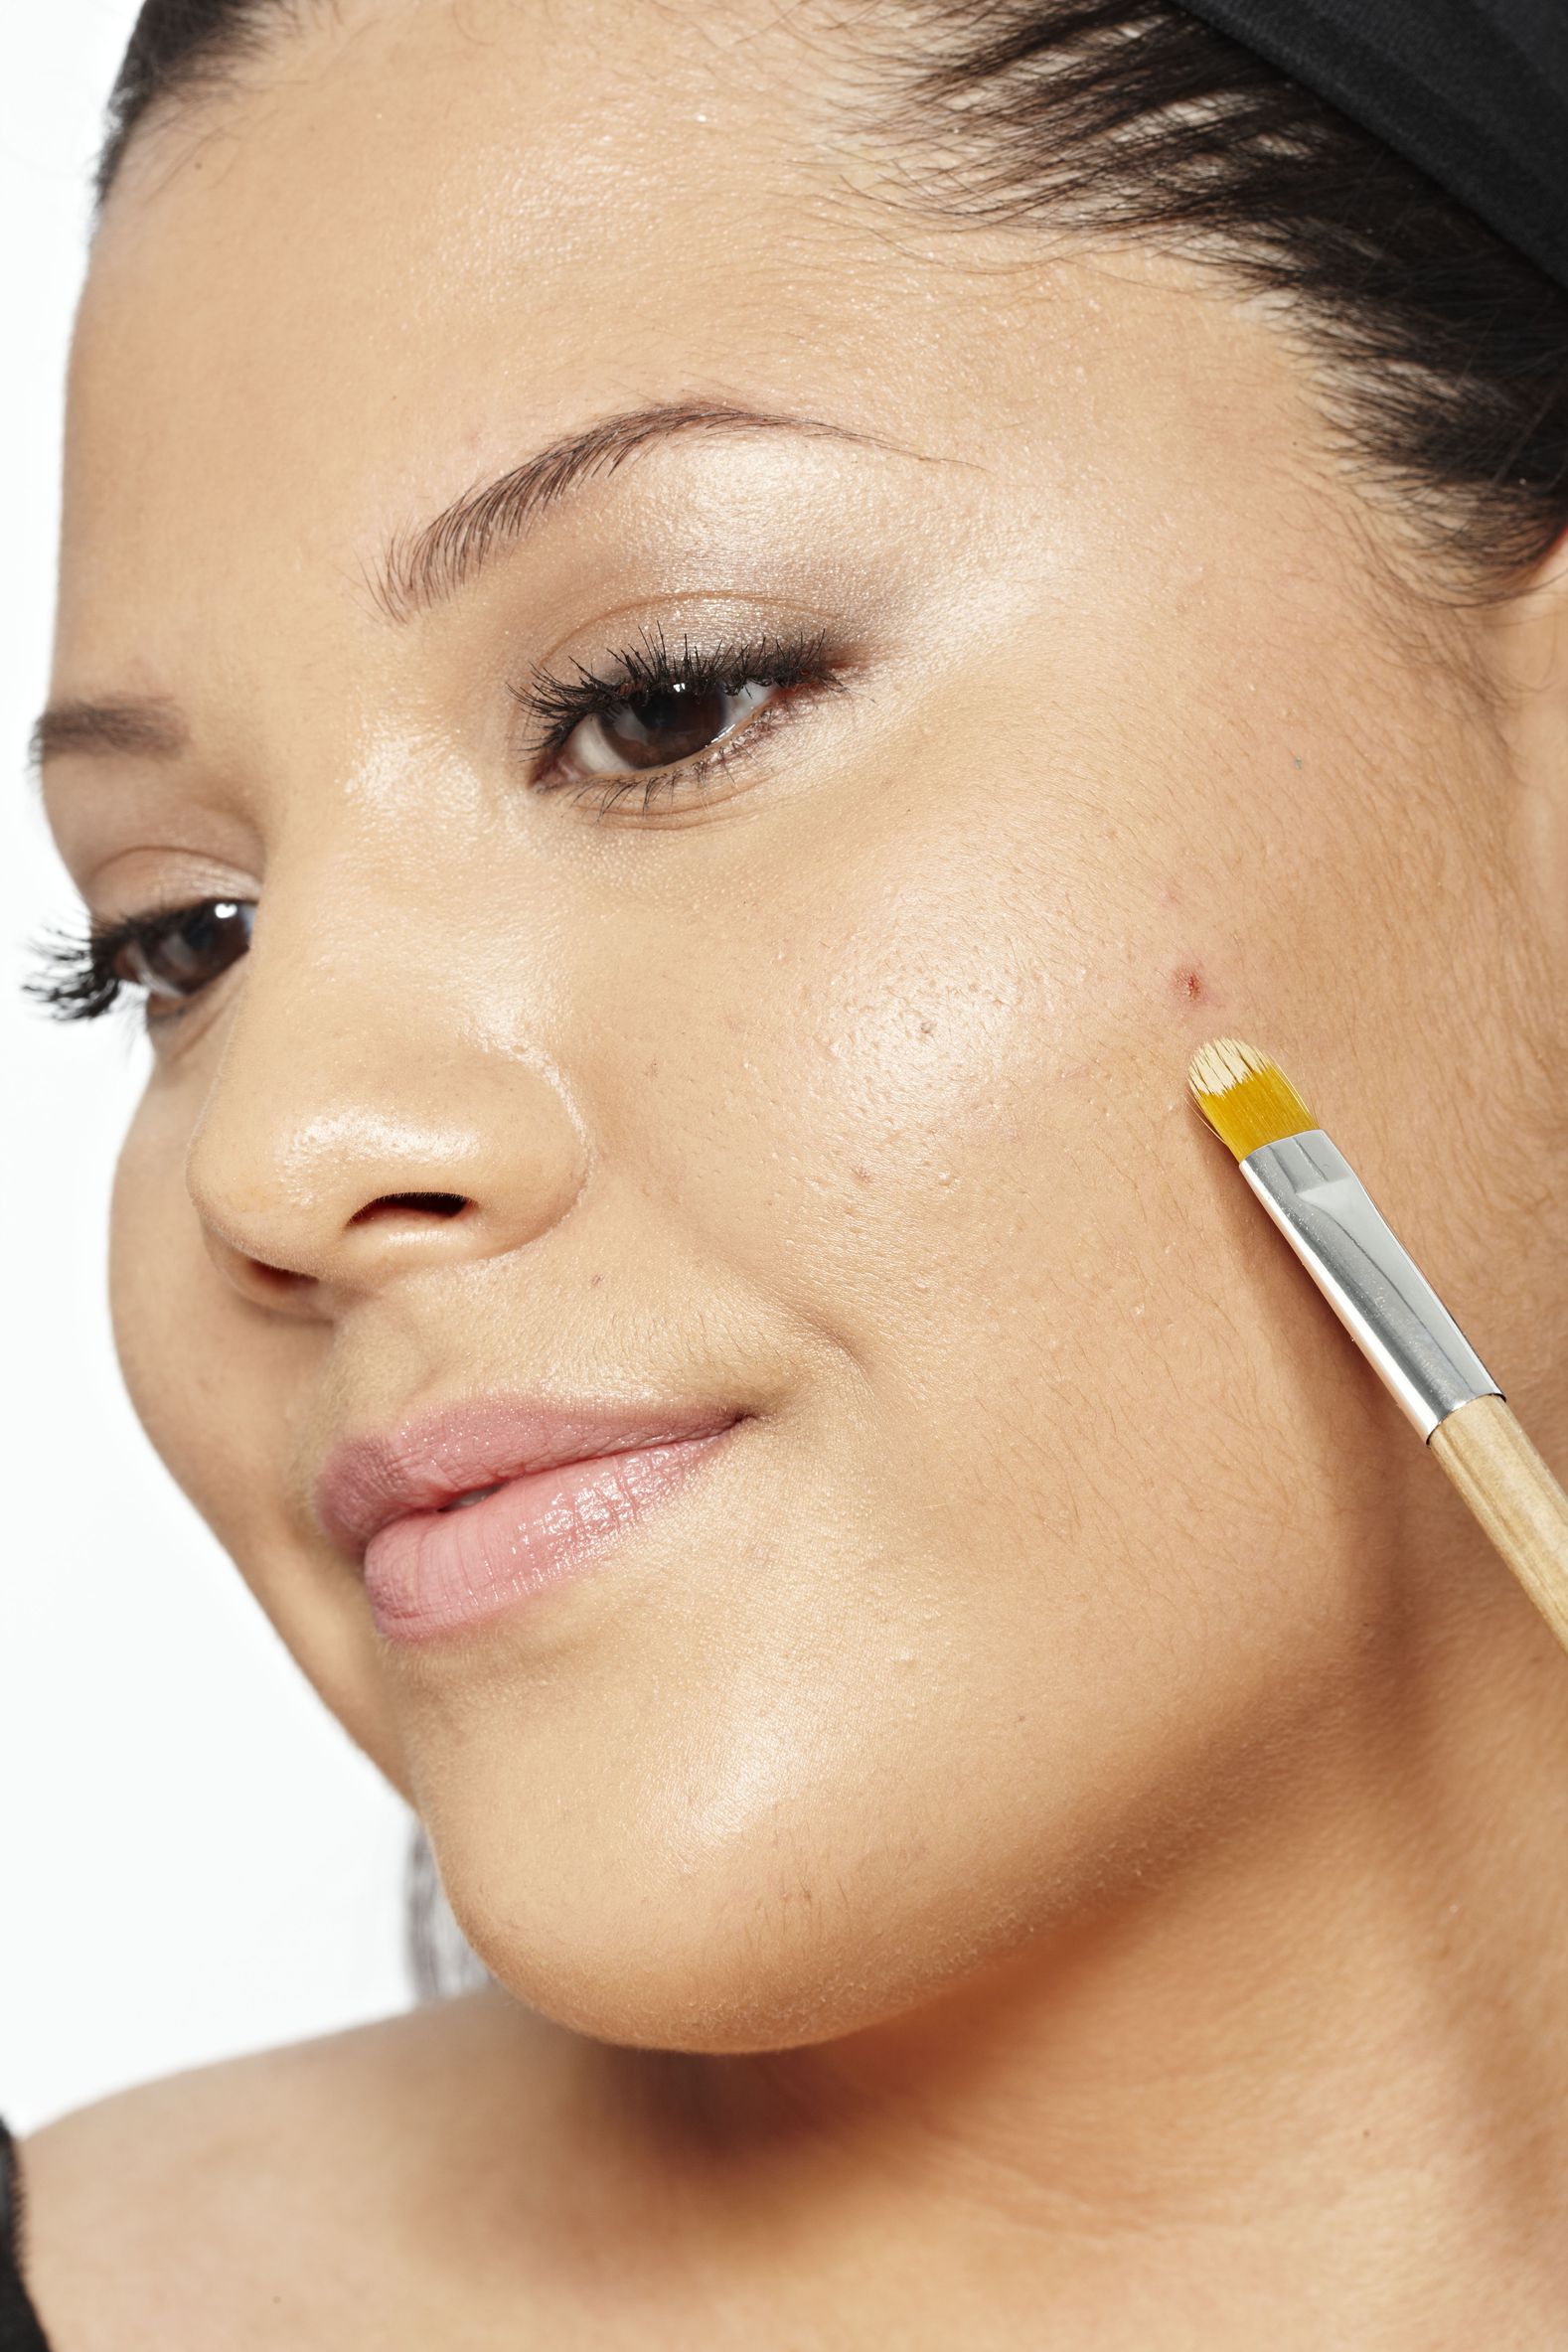
 10. Nix a prom-night pimple fast.If you wake up on prom day with an unwelcome visitor on your face, stash a Q-tip soaked in eye drops in the freezer for an hour. Then rub it on your pimple. The combo of the cold and the eye drops constricts blood vessels to immediately reduce redness and soothe irritation.

11. Turn to the right in photos.For whatever reason, researchers say the left side of your faceshows more emotion and looks more flattering in pics, so it’s basically the easiest way ever to look even better in your prom pics.

12. Use the eyeshadow trick pros swear by.For a big event, always use a cream shadow instead of a powder, because the texture looks richer. To make it last until the 2 a.m. after-party, use a little translucent powder or a thin layer of concealer underneath the shadow.

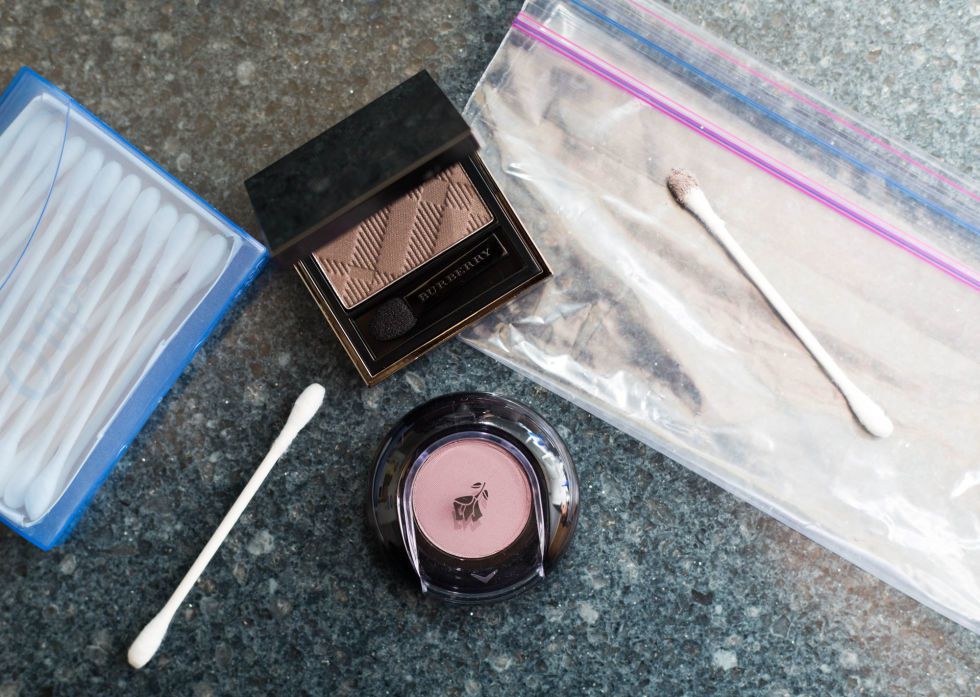
13. Bring a little extra shadow with you, just in case.Load a Q-tip up with product and stash it in a plastic baggie for emergency touch-ups later in the night.

14. Use painter’s tape to clean up the aftermath of a smoky eye.All those shadow flakes hanging out under your eye?Dab painter’s tape on your skin to gently lift them off. The tape is just strong enough to remove the excess makeup, but not so strong that you’ll pull off your foundation, too.

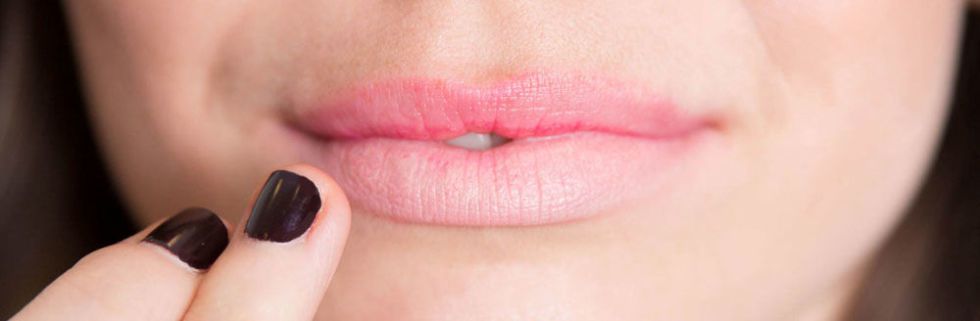
15. Brush your lips (seriously).Before applying a bold color, remove any dry flakes on your lips by brushing them with a toothbrush.

16. Give your makeup a selfie-run. Take a few photos of yourself after you do your makeup to catch things you don’t see in the mirror, like if your shimmer is catching the light in a weird way, or if your contouring looks too gray. Also always take a flash test and a natural lighting test. You don’t want to be looking like a ghost in all your Prom pics with flash back and natural light is the best for getting a true idea of how everything looks.

17. Try a two-step lipstick application. Apply one shade all over your mouth, and then dot-and-blend a lighter color in the middle of your lips. The contrasting shades create dimension that makes your lips look extra full.

18. Blot your lips the right way.Apply a coat of lipstick, blot, and then apply a second coat. Doing so removes excess oil on your lips from the first application, so that the second one grips it better and will last all night

19.Tame your baby hairs.Spritz a toothbrush with aerosol hairspray, then use it to clean up stray hairs along your part and hairline. This works wonders if pesky flyaways are attempting to escape from your updo.

20. Say “prune” in pictures.Mary-Kate and Ashley Olsen reportedlysay this word to nail that perfect close-lipped sneaky smile. It sounds ridiculous, but it also works.

21. Cover a prom-night pimple with primer.If you’ve got a zit that won’t quit, dab eyeshadow primer on top of it to create a velvety surface and then apply your regular foundation on top of it. The primer is a long-lasting alternative to concealer, which can look flaky and rub off on an inflamed zit.

22.Set your nail art like a pro.It sounds crazy, but using candle wax as glue makes 3D nail appliques last twice as long! Scrape off soft wax with a toothpick and dab onto the back of the mini crystals. Press them onto wet nails, and the wax will harden with the polish.

23. Blast your mani with a shot of cold air to help it dry faster.You have zero time to spare when you’re getting ready, so get in front of your AC or use the cool button on your blow-dryer. The cold air hardens polish fast (just like in salons), making it last longer.

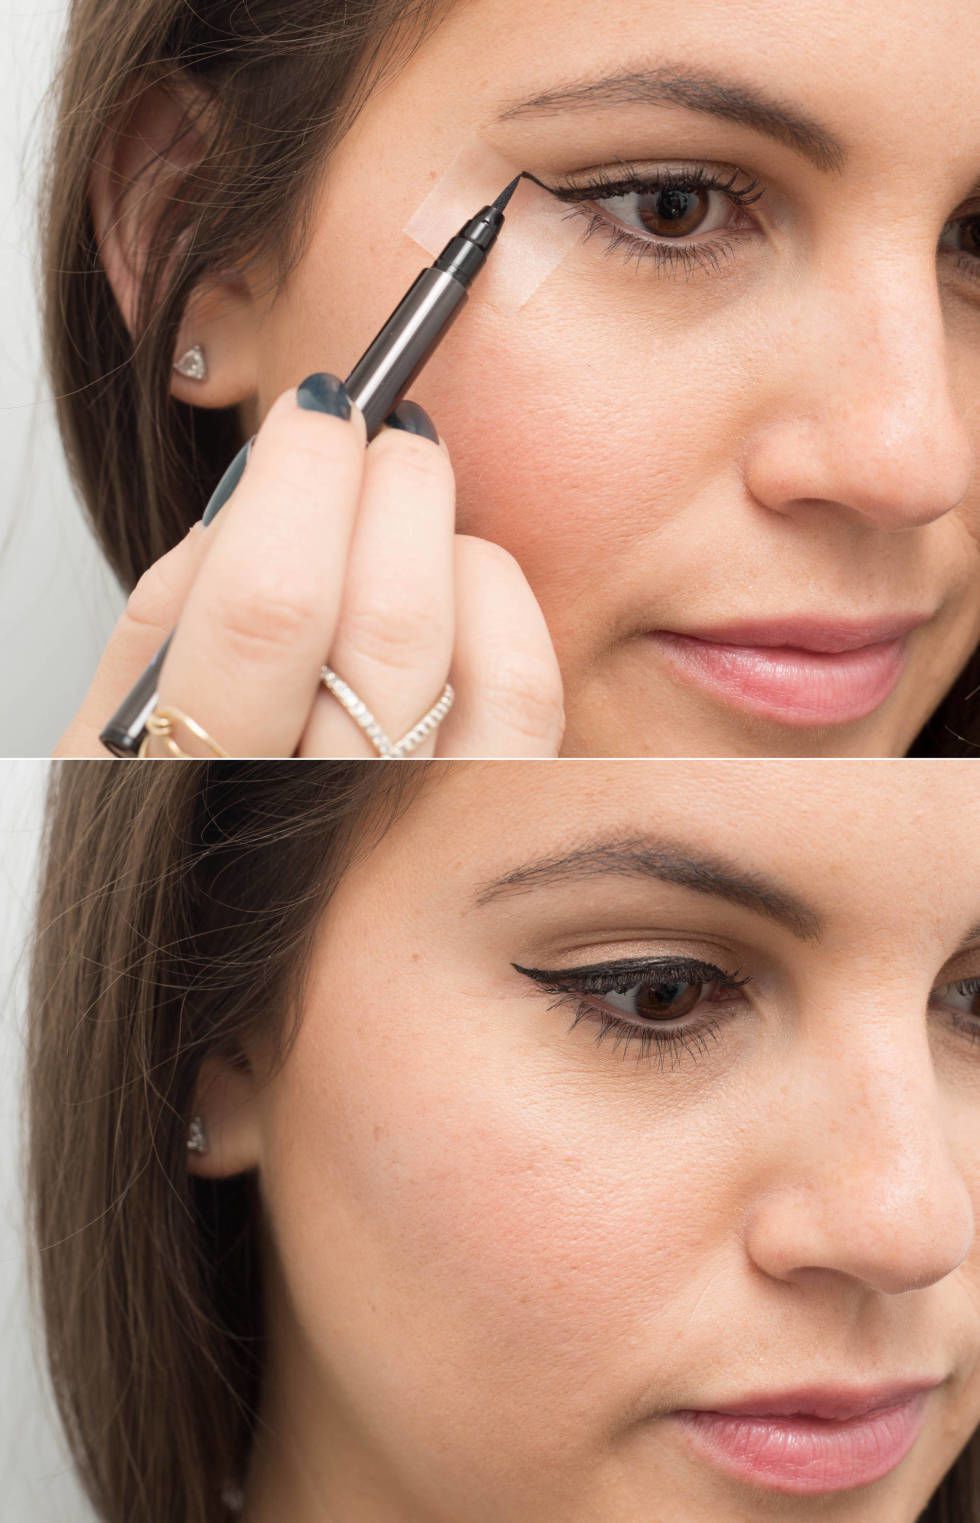
24. Get the perfect winged liner.We know, the flirty look isn’t as easy as YouTubers make them look! Use a piece of scotch tape to get that winged liner on lock.

 25. Spritz your neck.There’s one last thing you should do before you head out the door: Spray perfume at the nape of your neck. Hair holds fragrance longer than skin, so the sweet smell will last past the dance


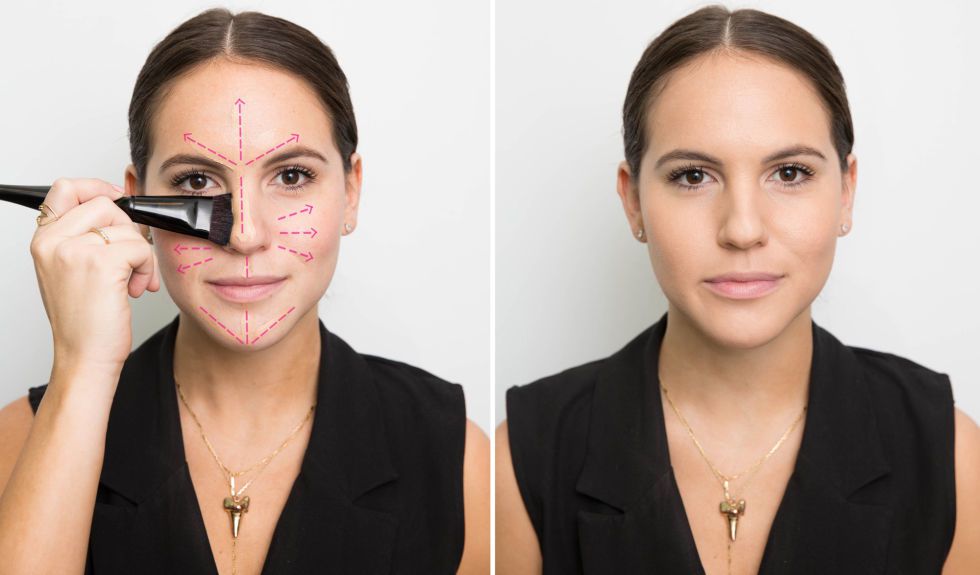
26.Apply foundation in the center of your face and blend outward. This helps you get a natural-looking application and is extra important if you’re sweeping your hair into an updo.

 27. Make your eyelashes look amazingly long. Step one: Blast your eyelash curler with a hair dryer for two seconds so it heats up just a tick. Step two: Curl your lashes and apply mascara as usual. Step three: Look like a devastating bombshell.


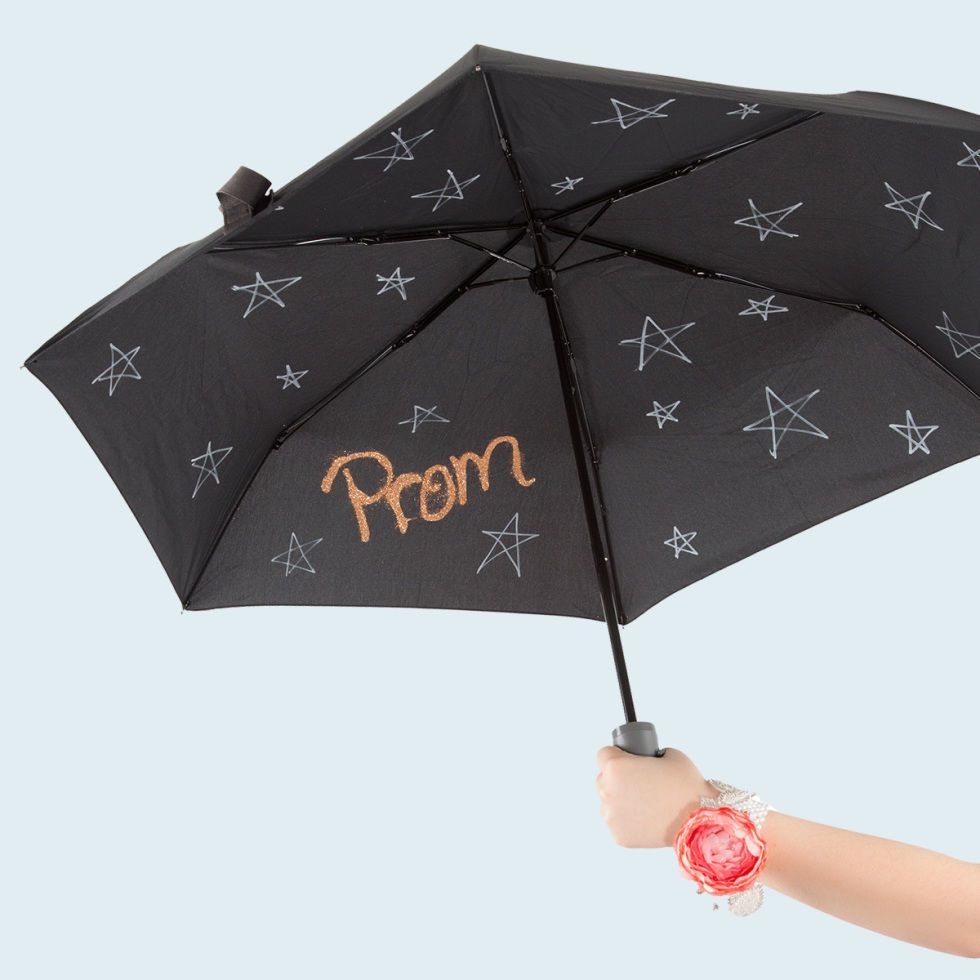
 28. Prepare for a downpour. Don’t think of rain as a hair-ruiner — think of it as a chance to carry a cute DIY umbrella. Create designs and catchy phrases on the underside of a black umbrella for a totally custom feel!

29. Remove lipstick from your dress.If disaster strikes in the form of rogue lipstick, use shaving cream to fix it. It sounds weird, but white shaving cream is nothing more than whipped soap that rinses easily and is gentler than straight suds. Just dampen the stain with a little bit of water and use a cloth to rub in the shaving cream. Then wipe away with a damp cloth.

30. Kill late onset frizz.Run a dryer sheet over your strands to minimize static.

31.Whiten your teeth in literally two seconds. A lipstick with blue undertones will make your teeth seem whiter. Plums, cherry, reds, purply pinks, or any shade with a silvery shimmer will do the trick.

32. Wearing your hair down? Give yourself a DIY deep-conditioning treatment.For shine-bright-like-a-diamond hair, comb deep conditioner through damp, clean hair and wrap your head with a towel. Let it penetrate for 10 minutes, then rinse with cool water. 💎

33. Try this trick for flawless skin allover.Help blemishes or skin discolorations look less noticeable with a gold-flecked lotion, which reflects light away from any blemishes and gives skin a sexy sheen. Use it on bare skin, then wait 10 minutes before you step into your dress.

34. Max out your volume. The night before prom, use a clarifying shampoo — it will remove any residue, so you get major volume.

35. Get the perfect smoky eye. Draw a hashtag on the outer corner of your eyelid and smudging it out with the sponge. Keep drawing hashtags and smudging it out to get a darker, smokier look.

36. Apply deodorant to the sides of your feet.It will help prevent blisters from dancing in your heels all night.

37. Find those cheekbones.To determine where you should be dusting on bronzer powder, line up a cotton swab right below your cheekbone. Once you’ve found the correct placement, lightly trace the line of the Q-Tip with another cotton swab tip coated in bronzer. Then blend the bronzer in with another clean cotton swab tip (tugged on for that cotton candy-like texture) to diffuse the color for a more natural look.

38. Hold off on the shine coat.In photos, glossy lipstick can reflect light and create the appearance of a weird white dot on your mouth. Stick with a matte lip color and then layer something shiny on top later in the night if you want.

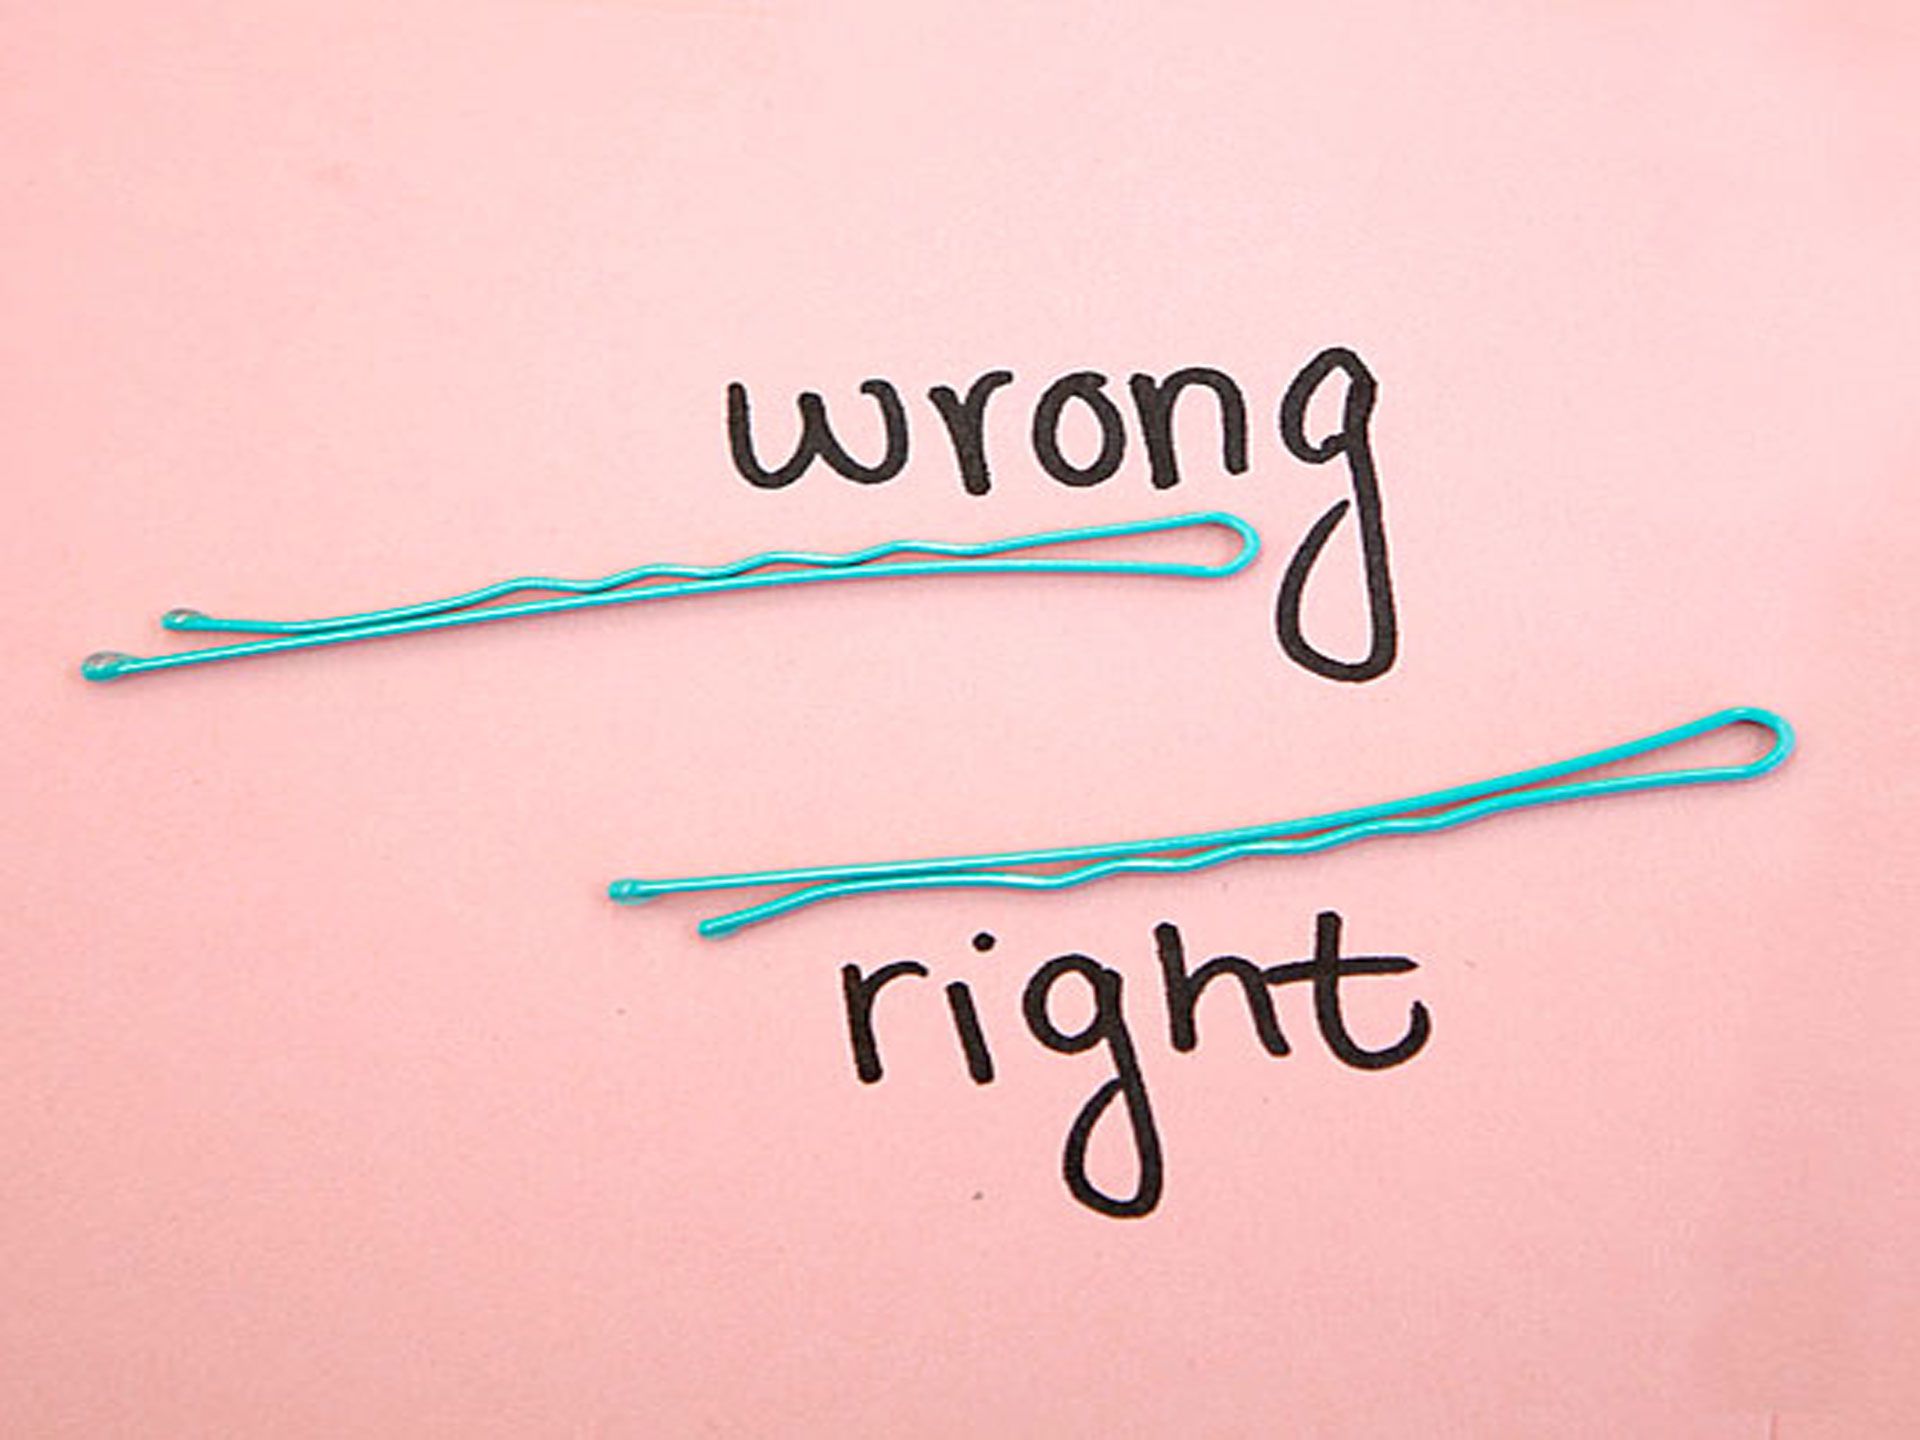
39. Get bobby pins to stay put.For better grip, flip the bobby pin over so the wavy side is against your head. If you have a hard time keeping your bobby pins in place, try flipping the pin over. The straight side is slicker and won’t grip as well as the wavy, more textured side.

40. Use baby powder to lengthen your lashes.Skip the falsies! To get crazy long lashes without any glue, apply one coat of your favorite mascara. Then, use a Q-tip to dust baby powder all over your lashes, and apply a second coat of mascara. The baby powder will stick to your lashes to create natural extensions.

41. Put your school ID to work.You probably need to bring your school ID to get into prom anyway, so the piece of plastic may as well help you put on mascara. Hold your school ID or a credit card underneath your lashes, then go crazy with the mascara. Your lashes will get properly coated, but any excess mascara will end up on the card, instead of your face. Just make sure the card is clean first.

42. Don’t rub your wrists together.Everyone has their usual perfume routine, but try to avoid the common mistake of rubbing your wrists together after a spritz. Doing this forces the top notes to disappear faster than intended, so your fragrance won’t last as long.

43. Get instant hair thickness. Dust an eyeshadow (in the same color family as your hair) along your part to shade your scalp slightly, making your hair appear thicker. This will also make your hair look super-thick in all of those insta pics!

44. Use cold green tea bags to decrease puffiness under your eyes. Prom can be mega-stressful, so it’s super understandable if you have trouble sleeping the night before and wake up the day-of looking a little tired. The quickest way to de-puffing your under-eye skin is to apply a cold, caffeine-based product, like two cold green-tea bags, under your eyes for five or six minutes.

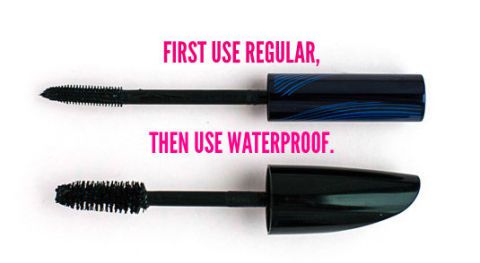
45. Double layer your mascara. Layer waterproof mascara on top of your regular formula to make your mascara last longer and make it easier to remove at the end of the night.

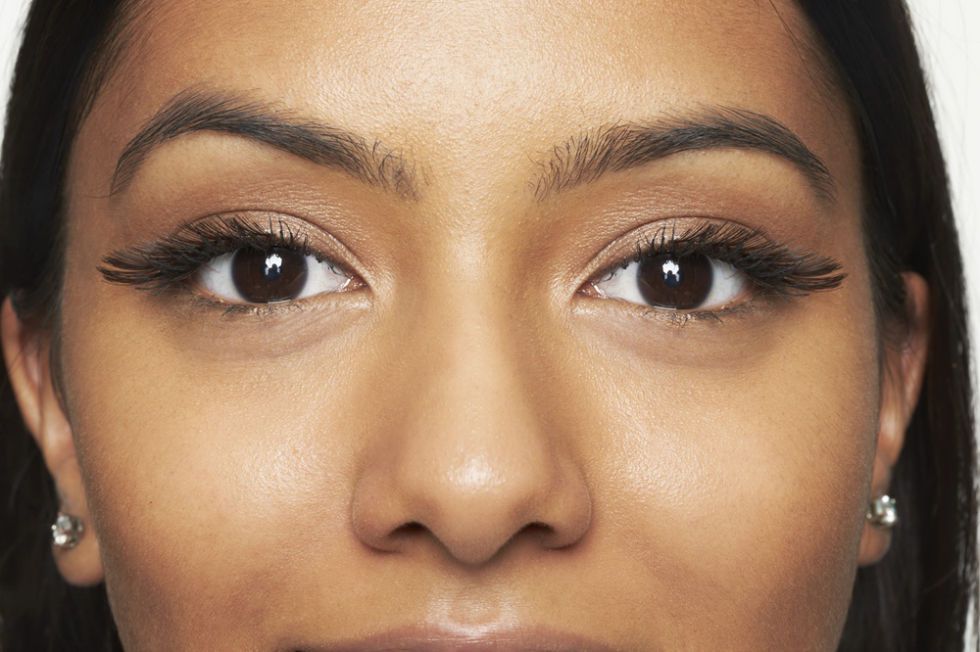
46. Half your lashes. Your fake ones, that is. Strip lashes are tricky to apply unless you have a lot of practice, so cut a strip and apply the half-pieces to the outer corners of your eyes for a super flirty look.

47. Don’t just apply blush to your cheeks!Unless you want to look like a baby doll in a horror movie, all-over application is key. Start with color on the apple of your check. Then, brush it along your cheekbone and all the way up to your temple. This will give you a much more natural flush.

48. Load up on dry shampoo.It’s not just for second-day hair — apply it immediately after you dry your hair and the texture will help your updo last longer.

49. Use concealer to fake a larger lip canvas.Pat concealer onto your lips, spreading it a little over your lip line. This will make your lipstick go on closer to the color in the tube, and make your lips look larger.

50.Help your mani shine. Before you get your nails done, soak your nails in lemon juice to remove nail polish stains. Lemon is known for getting rid of stains faster than anything else, so the new polish that compliments your dress will be the only one that shows!